Keeper Credential Manager |
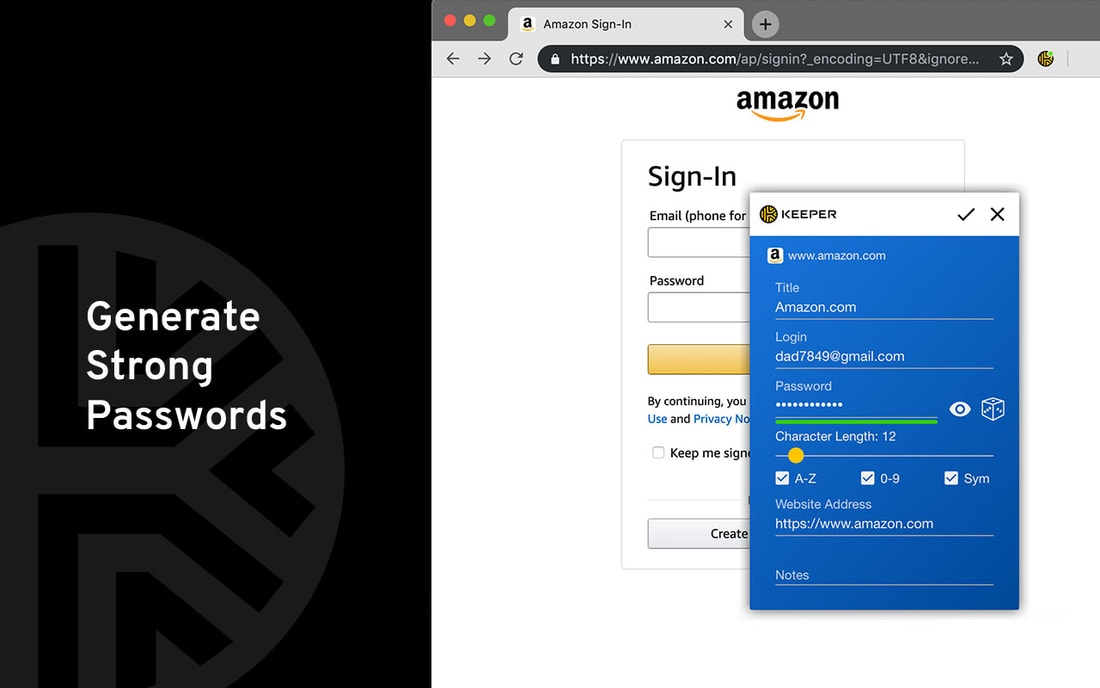
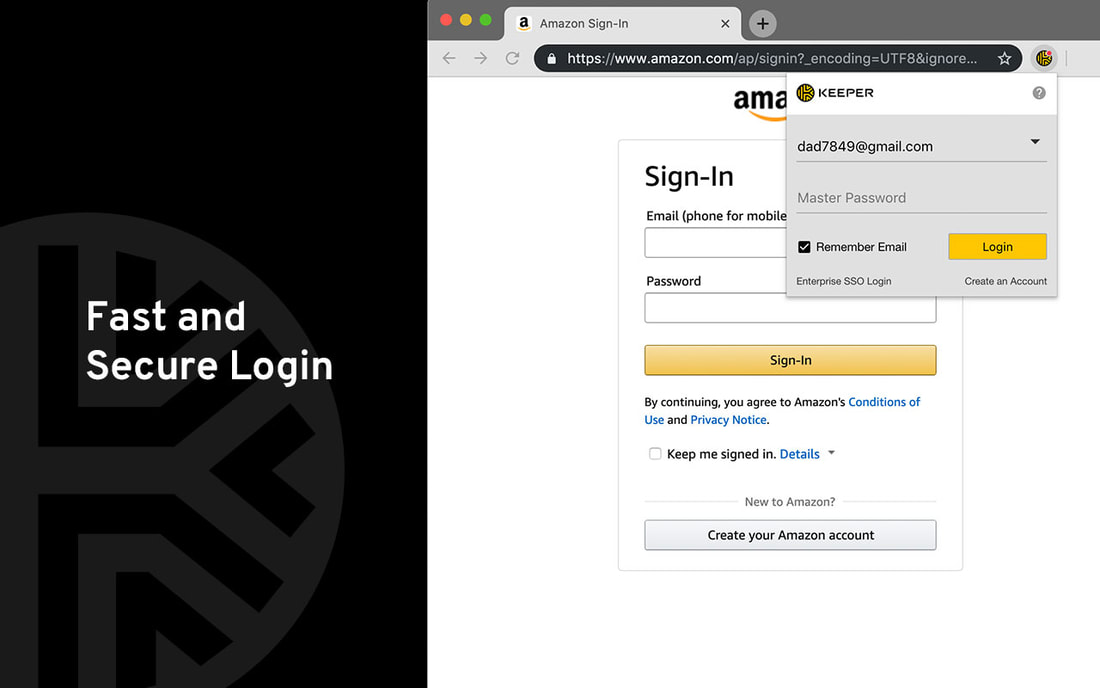
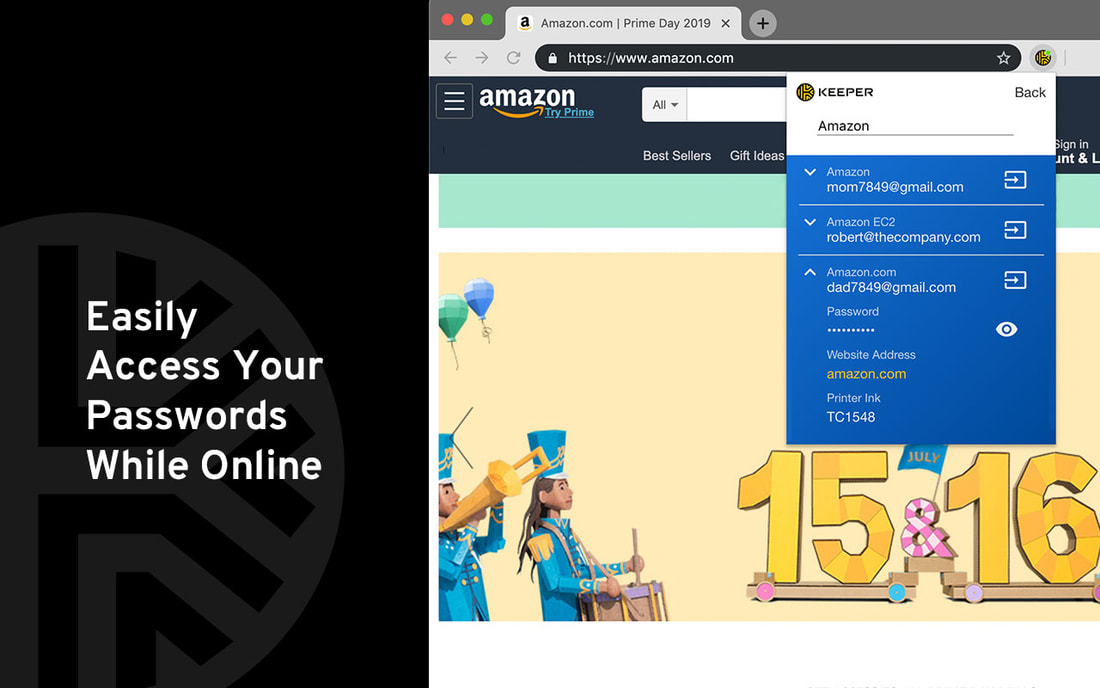
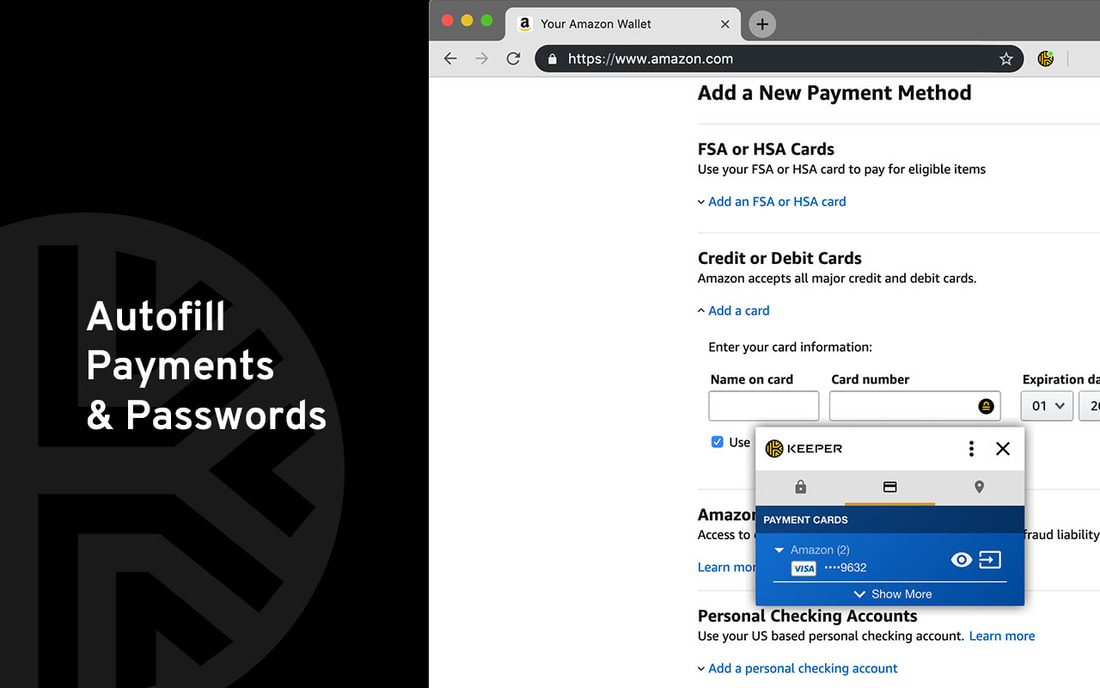
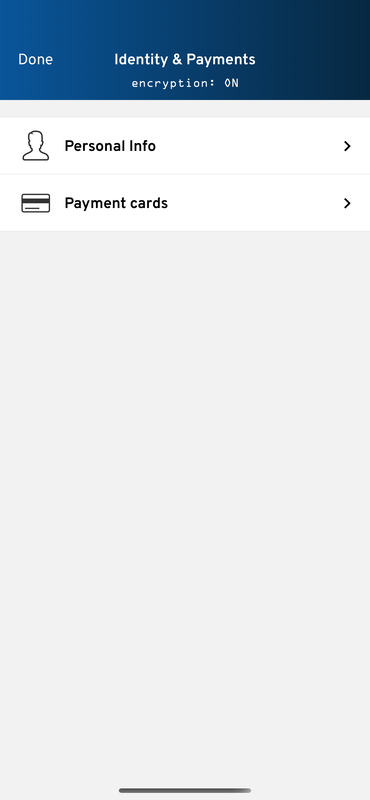
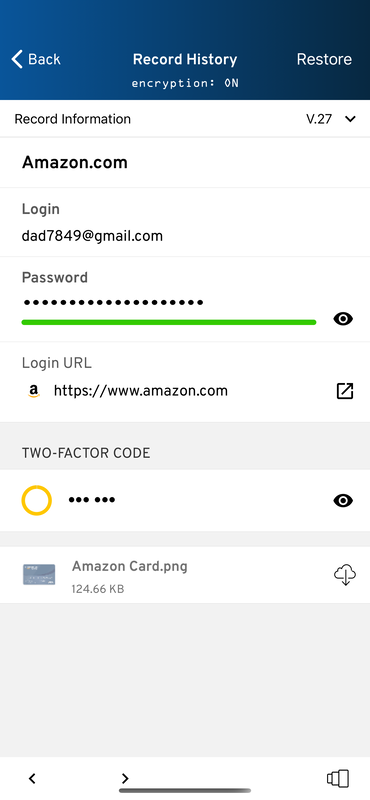
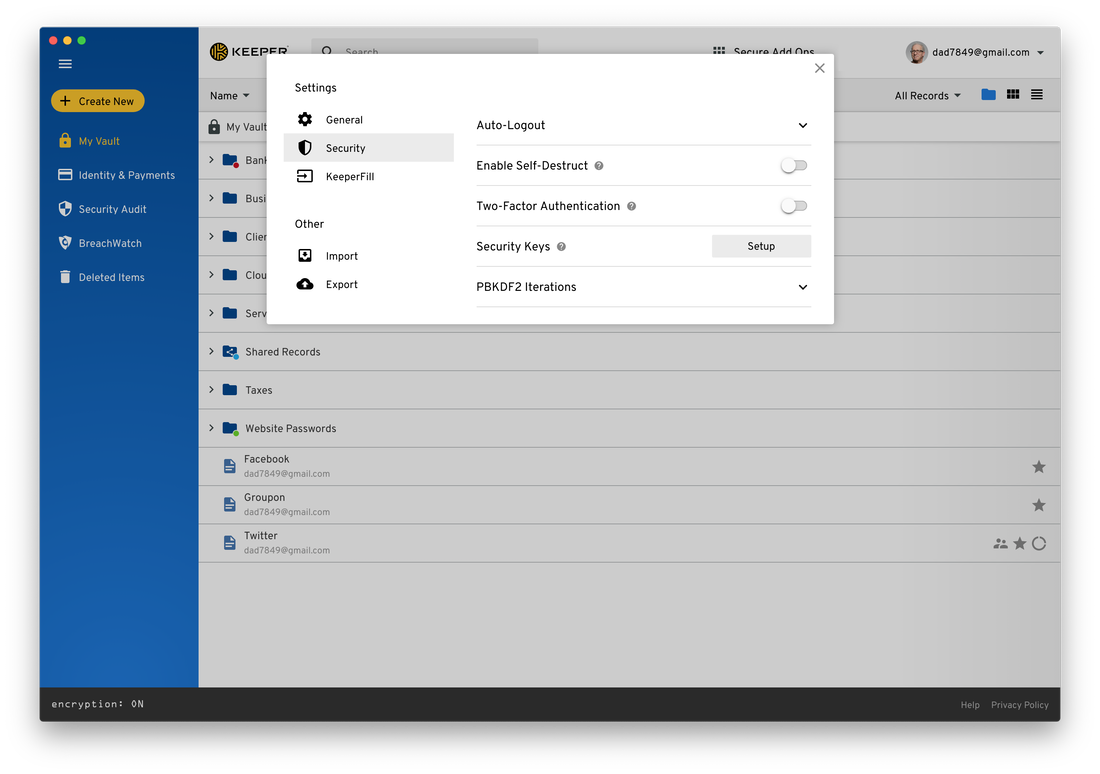
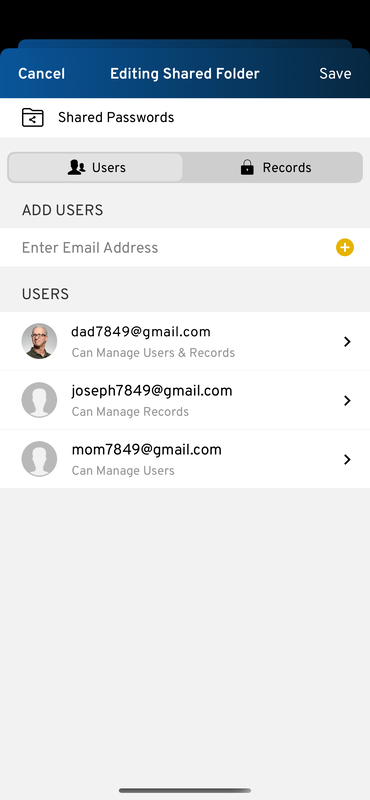
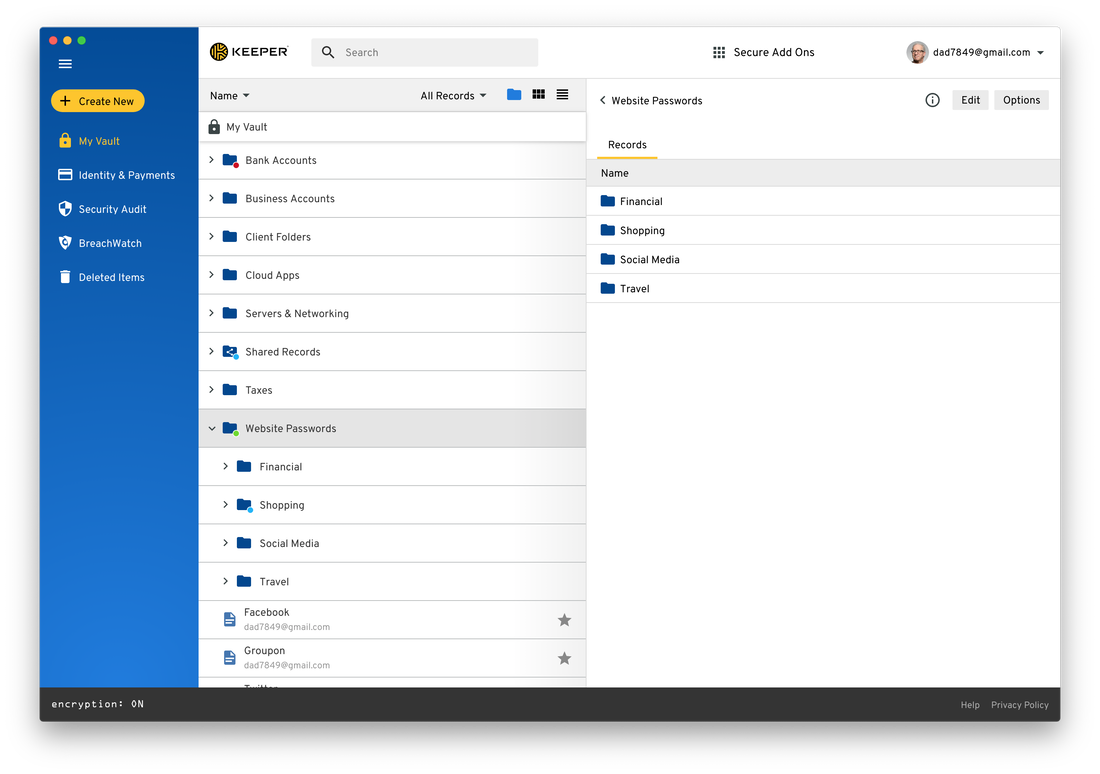
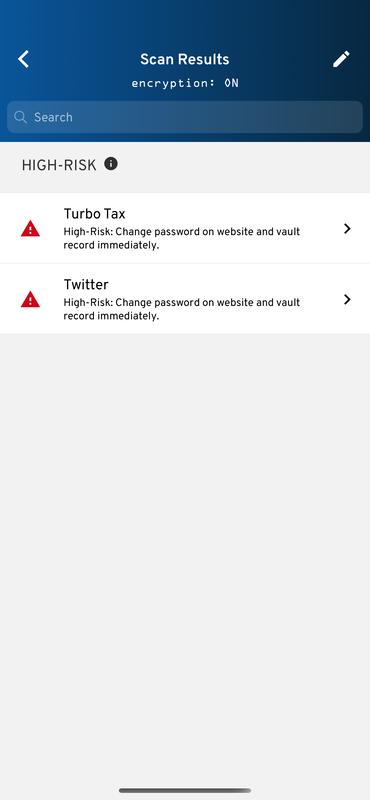
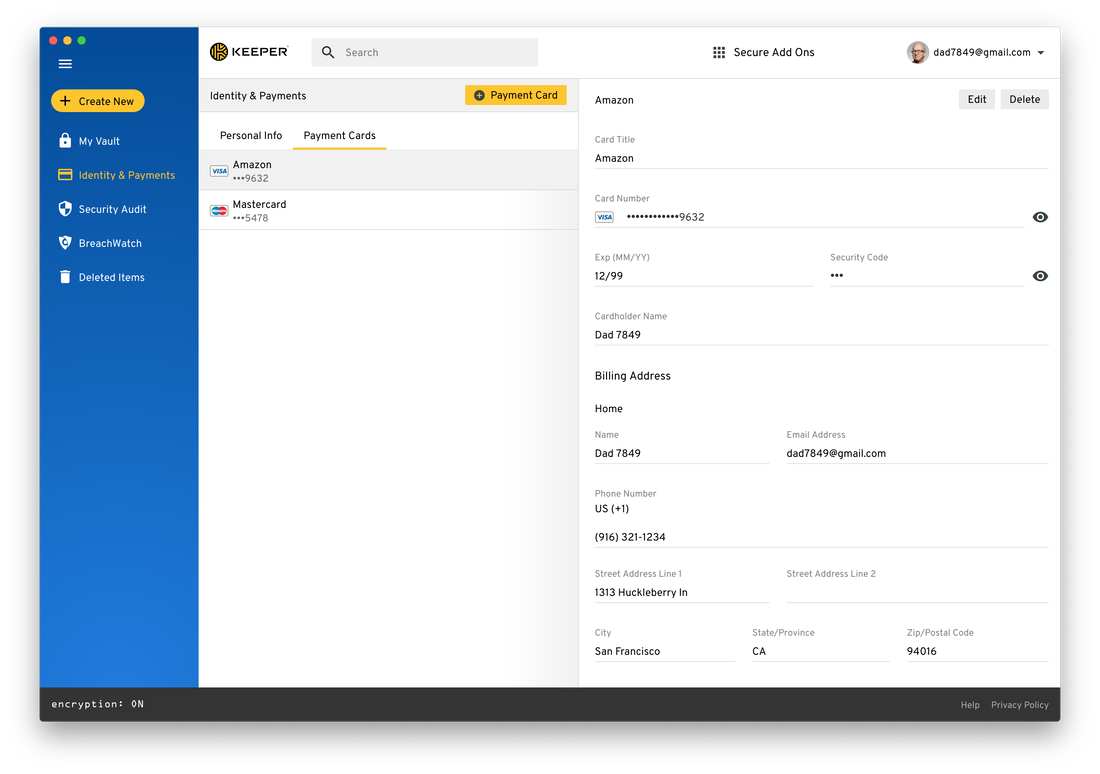
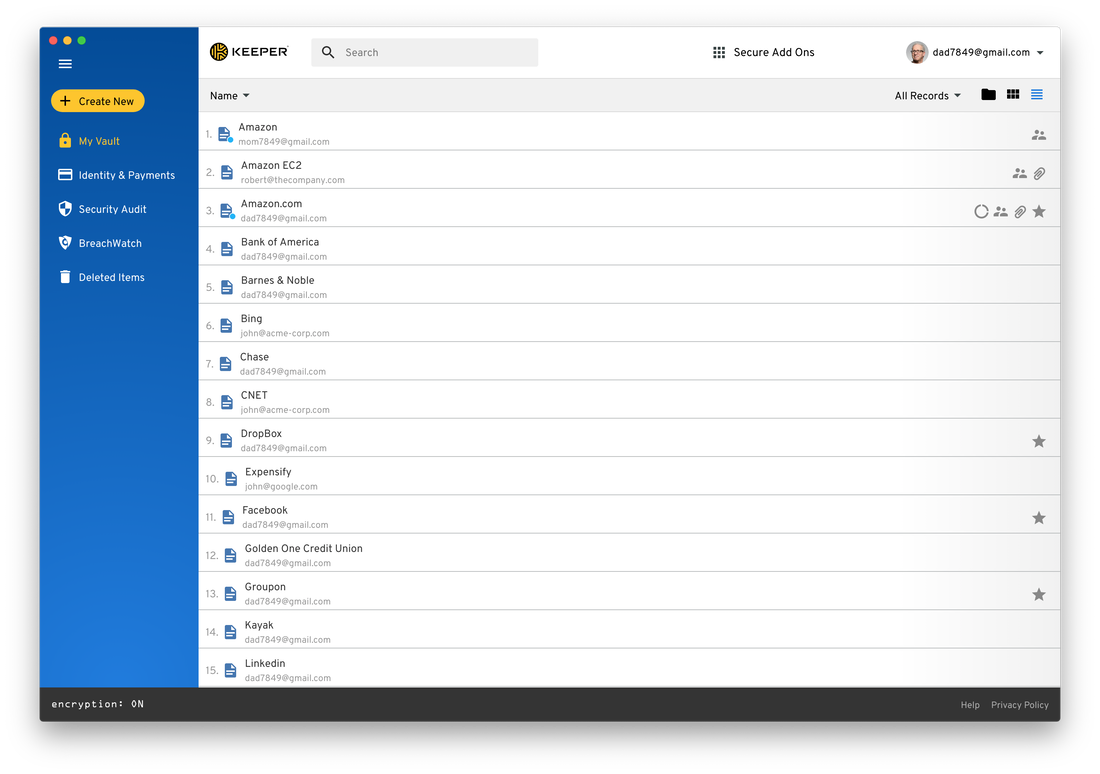
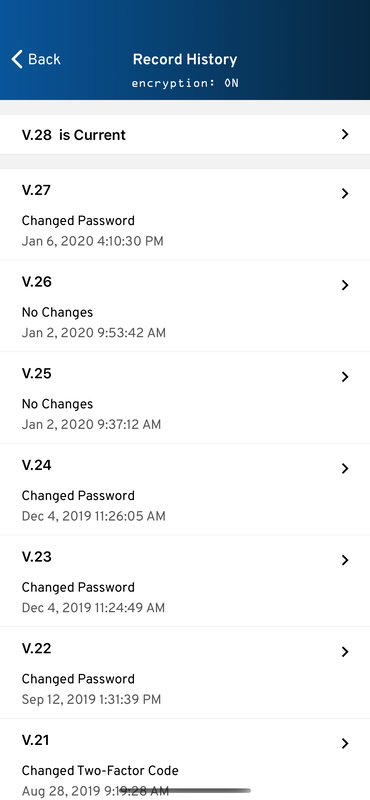
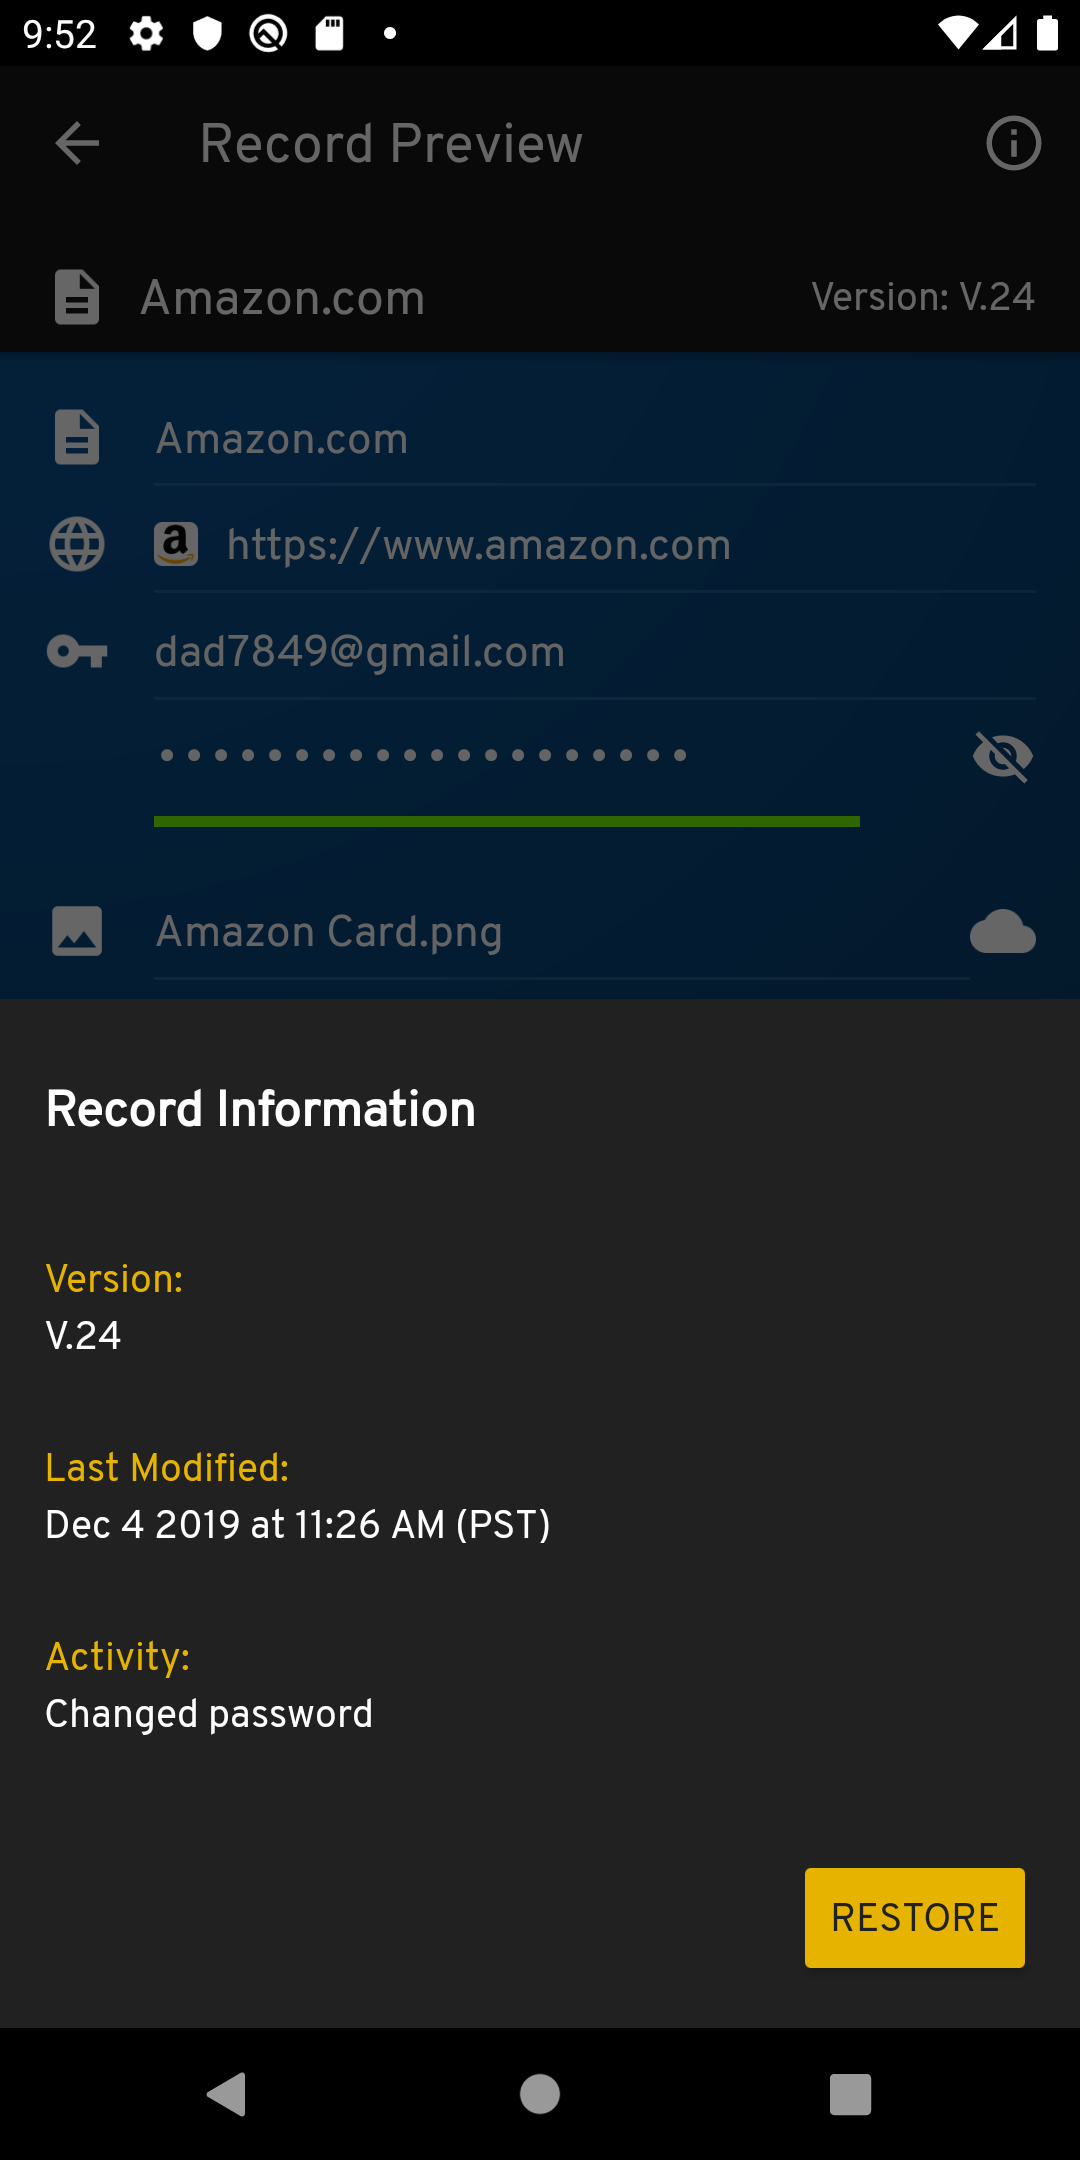
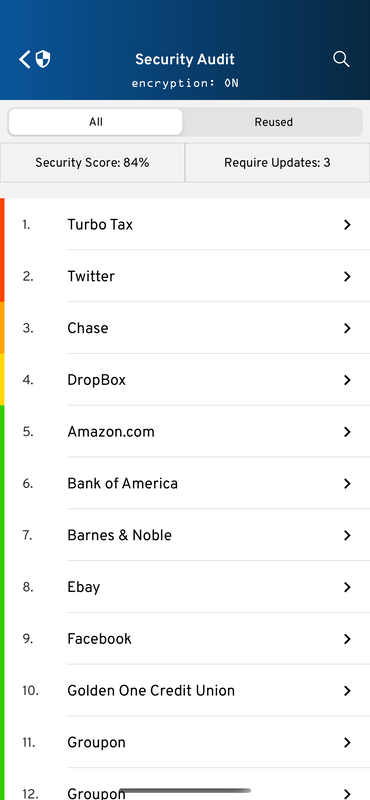
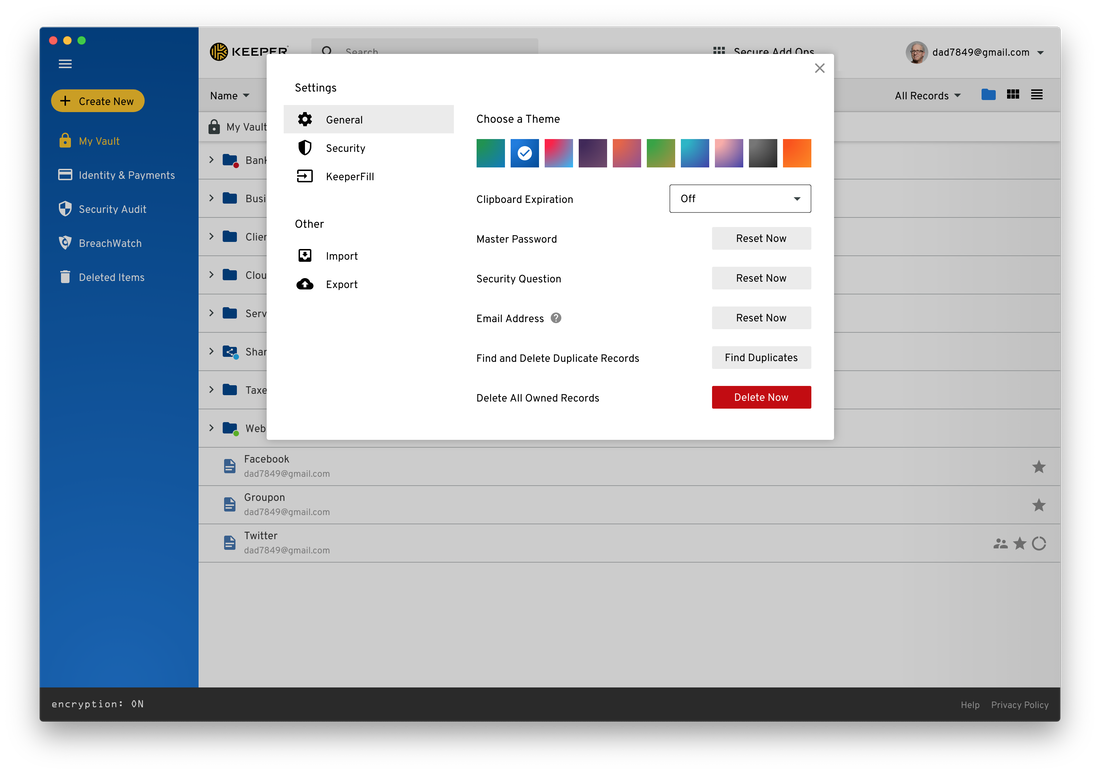
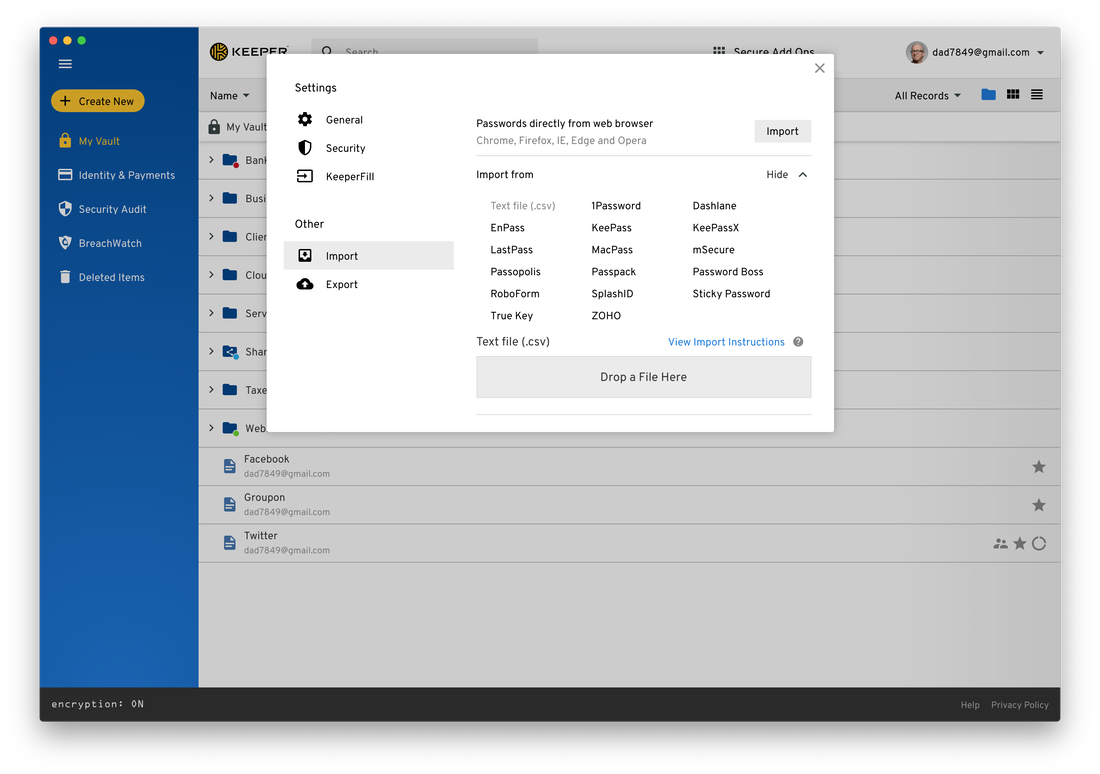
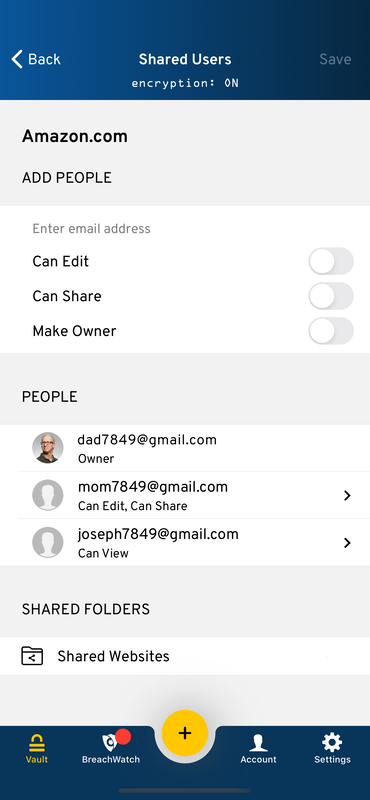
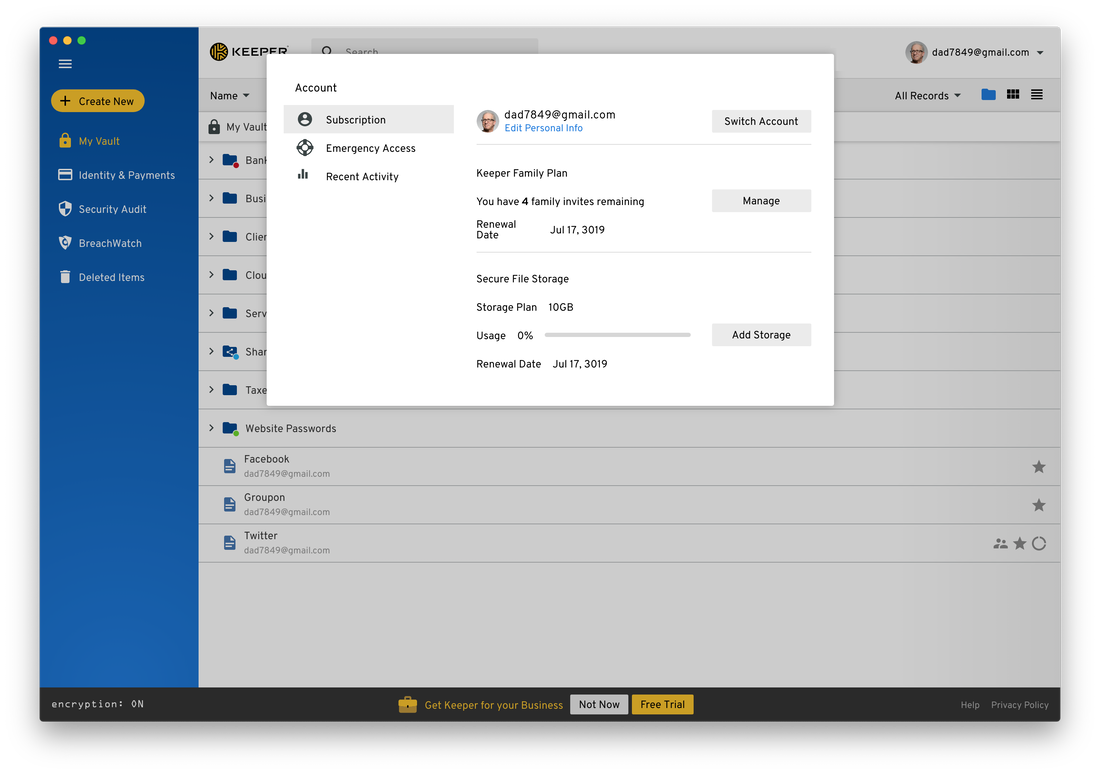
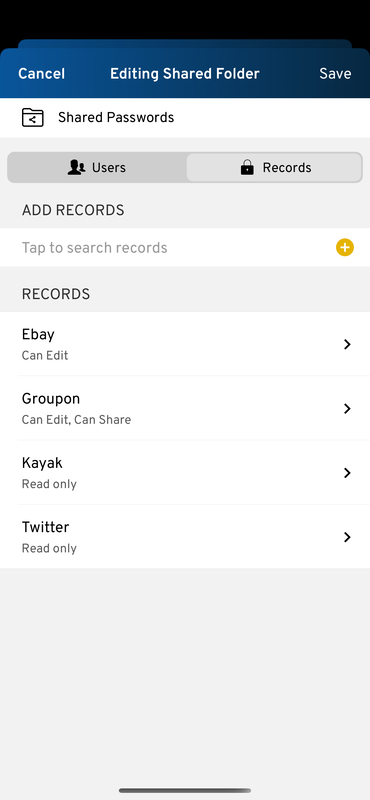
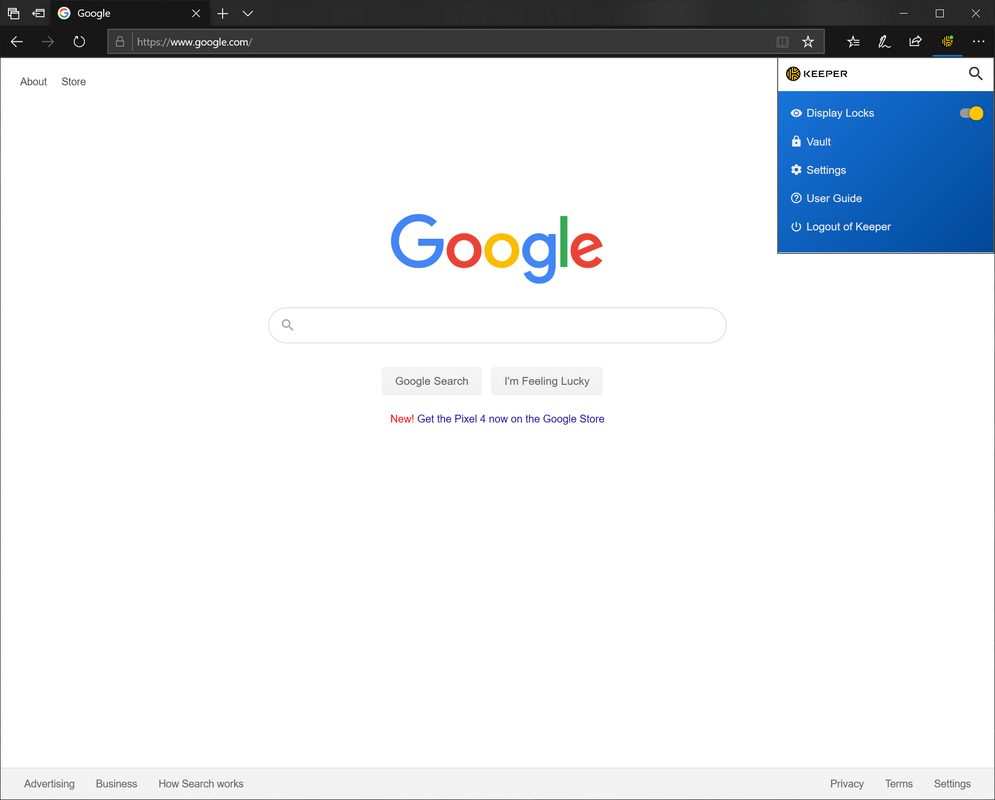
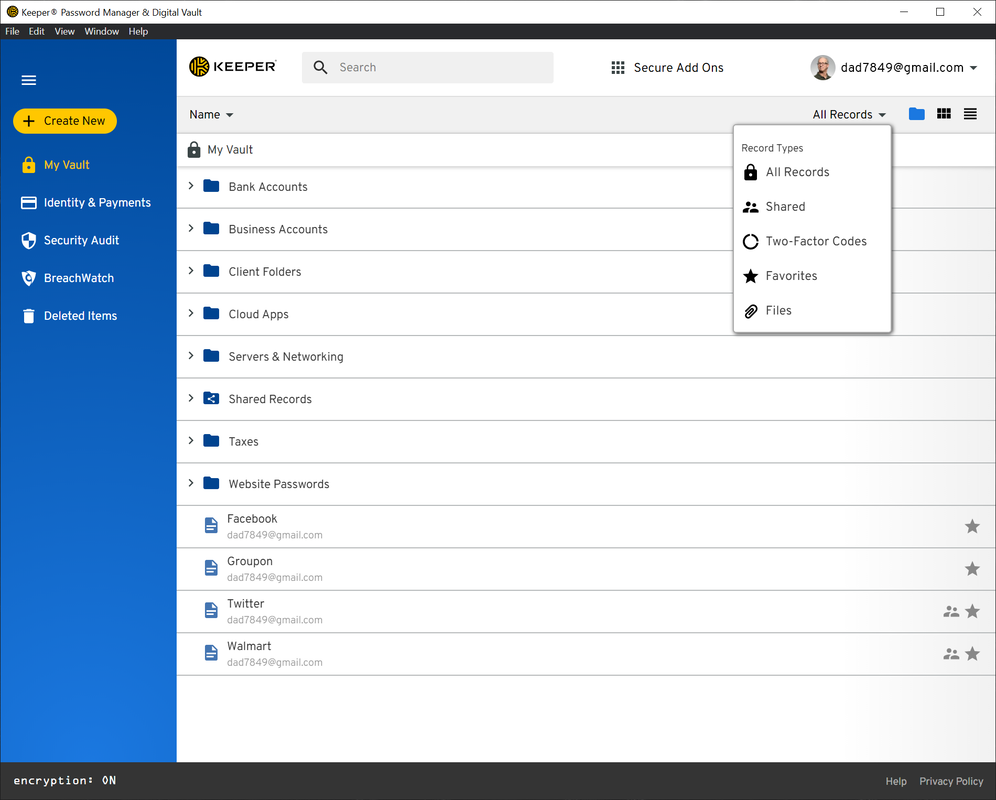
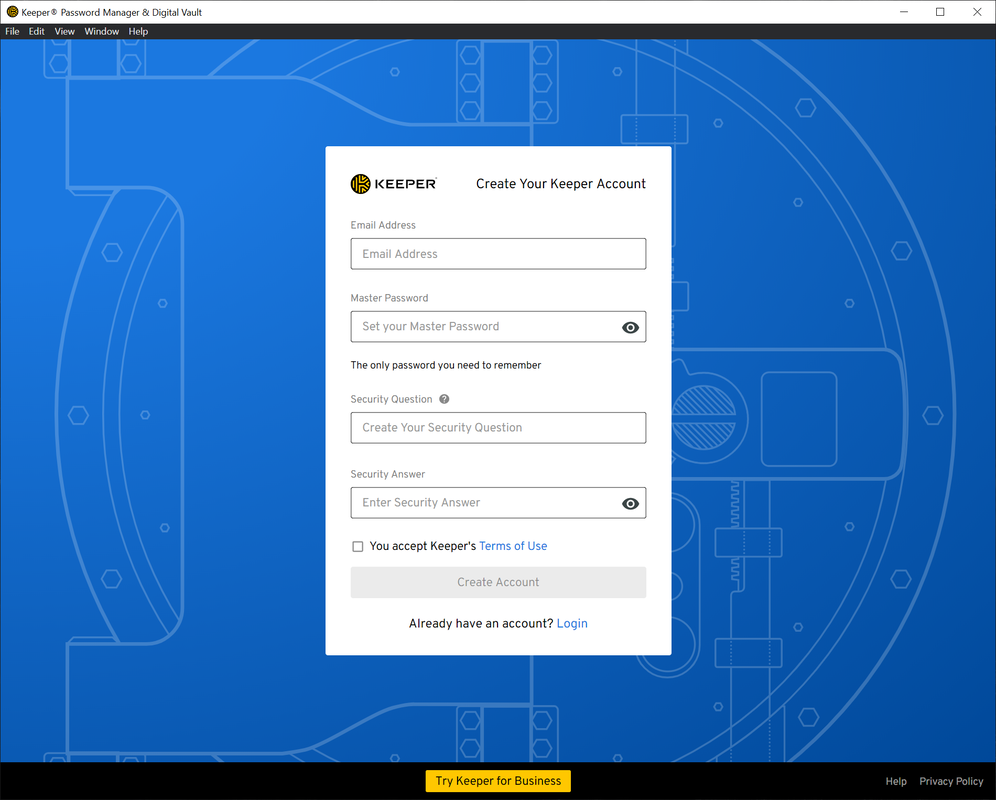
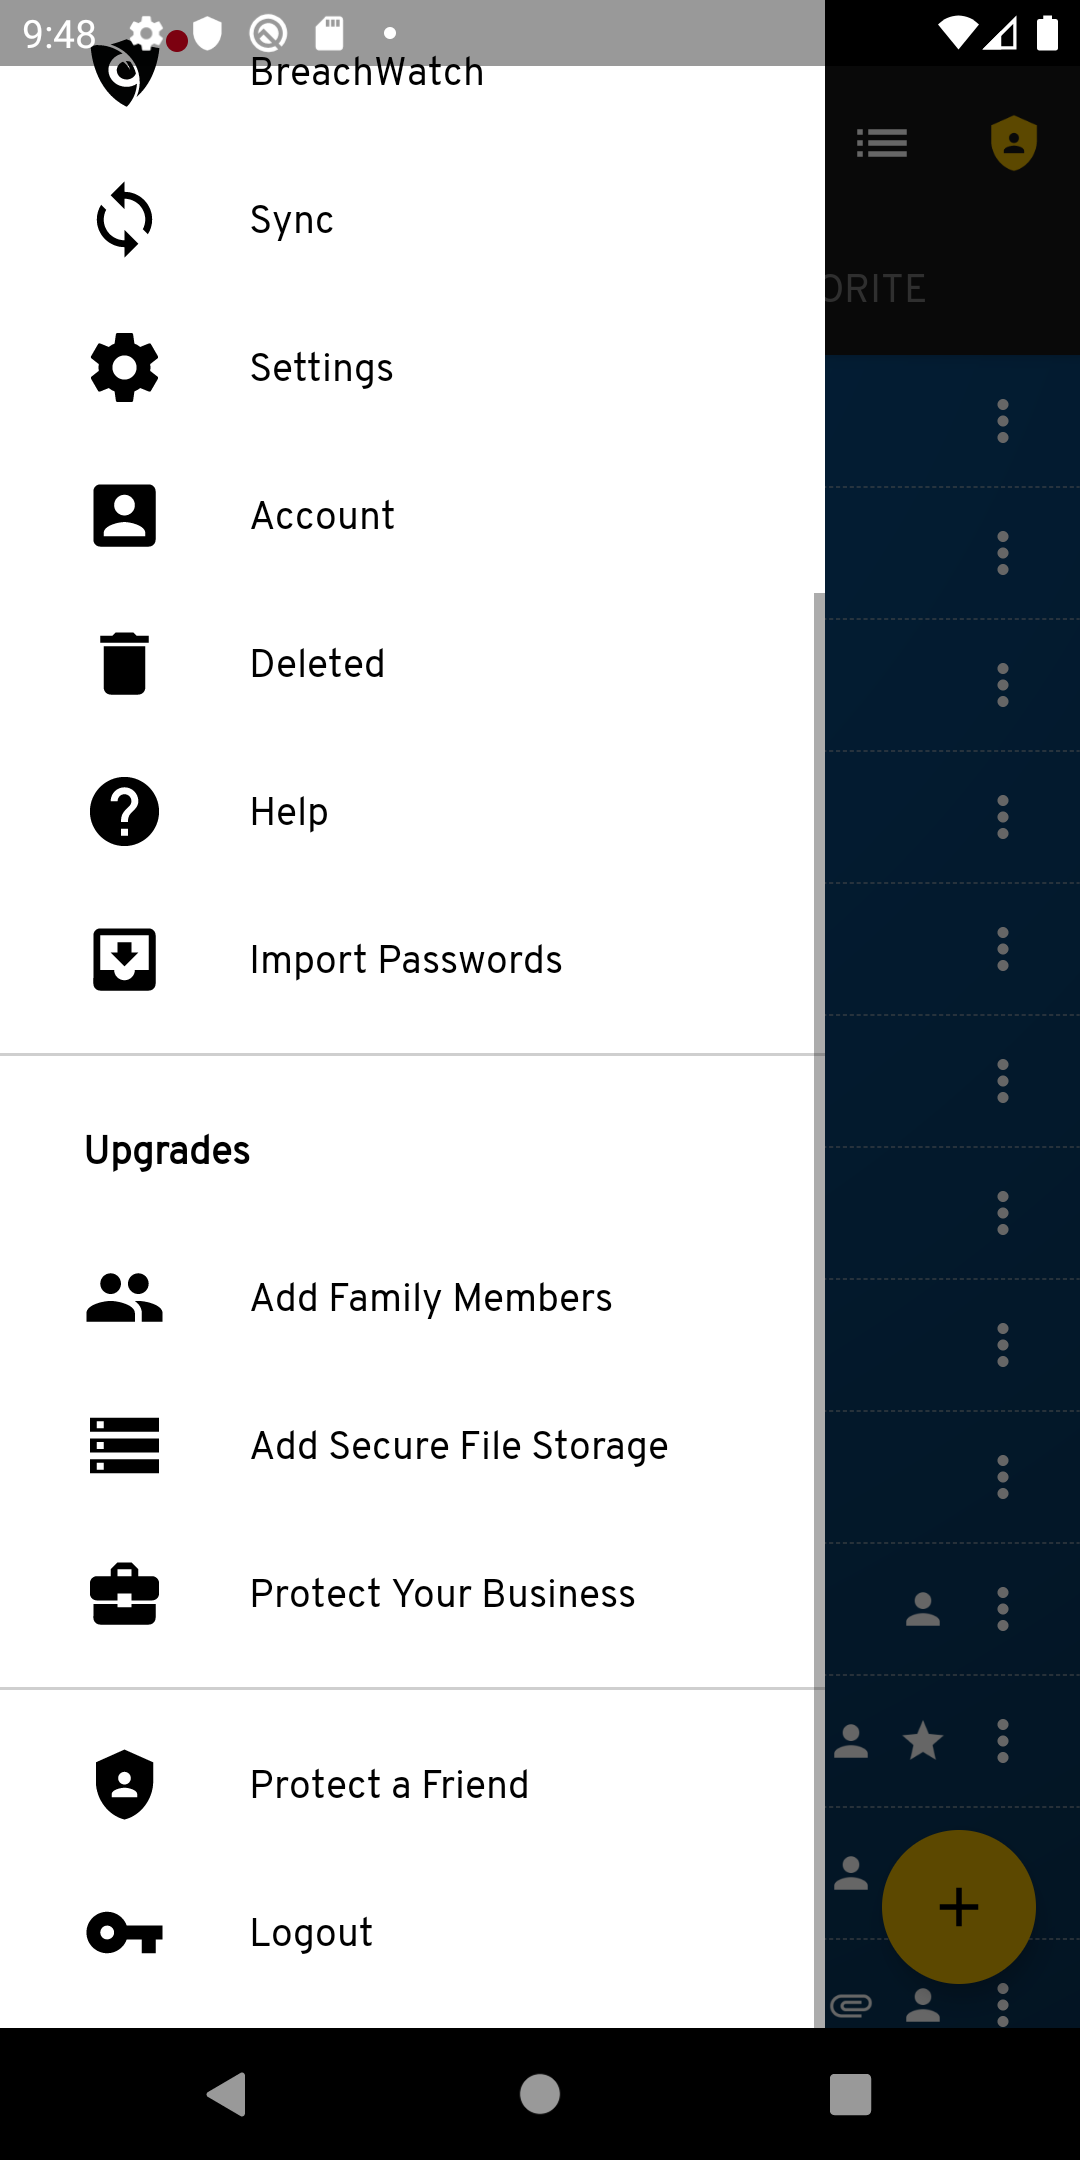
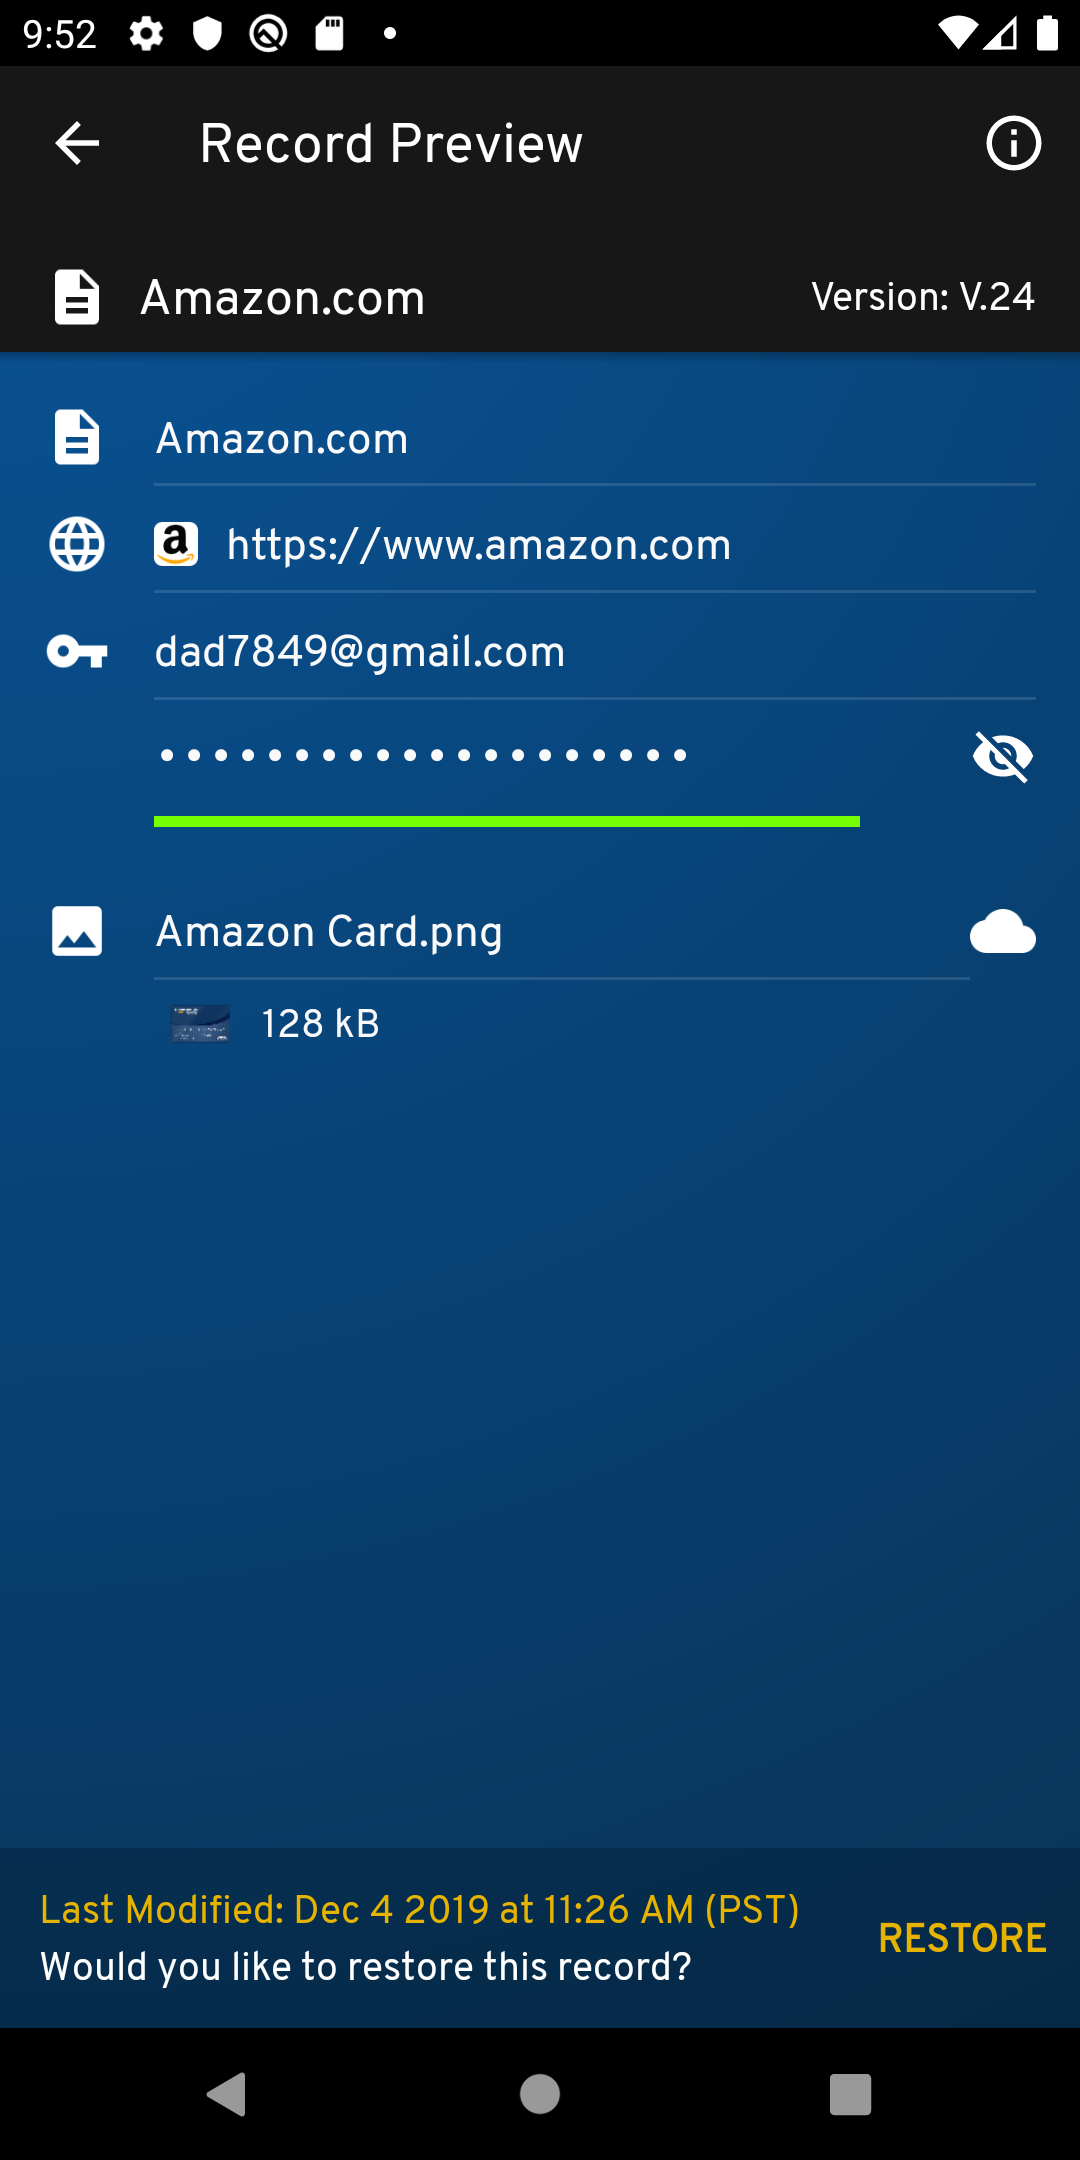
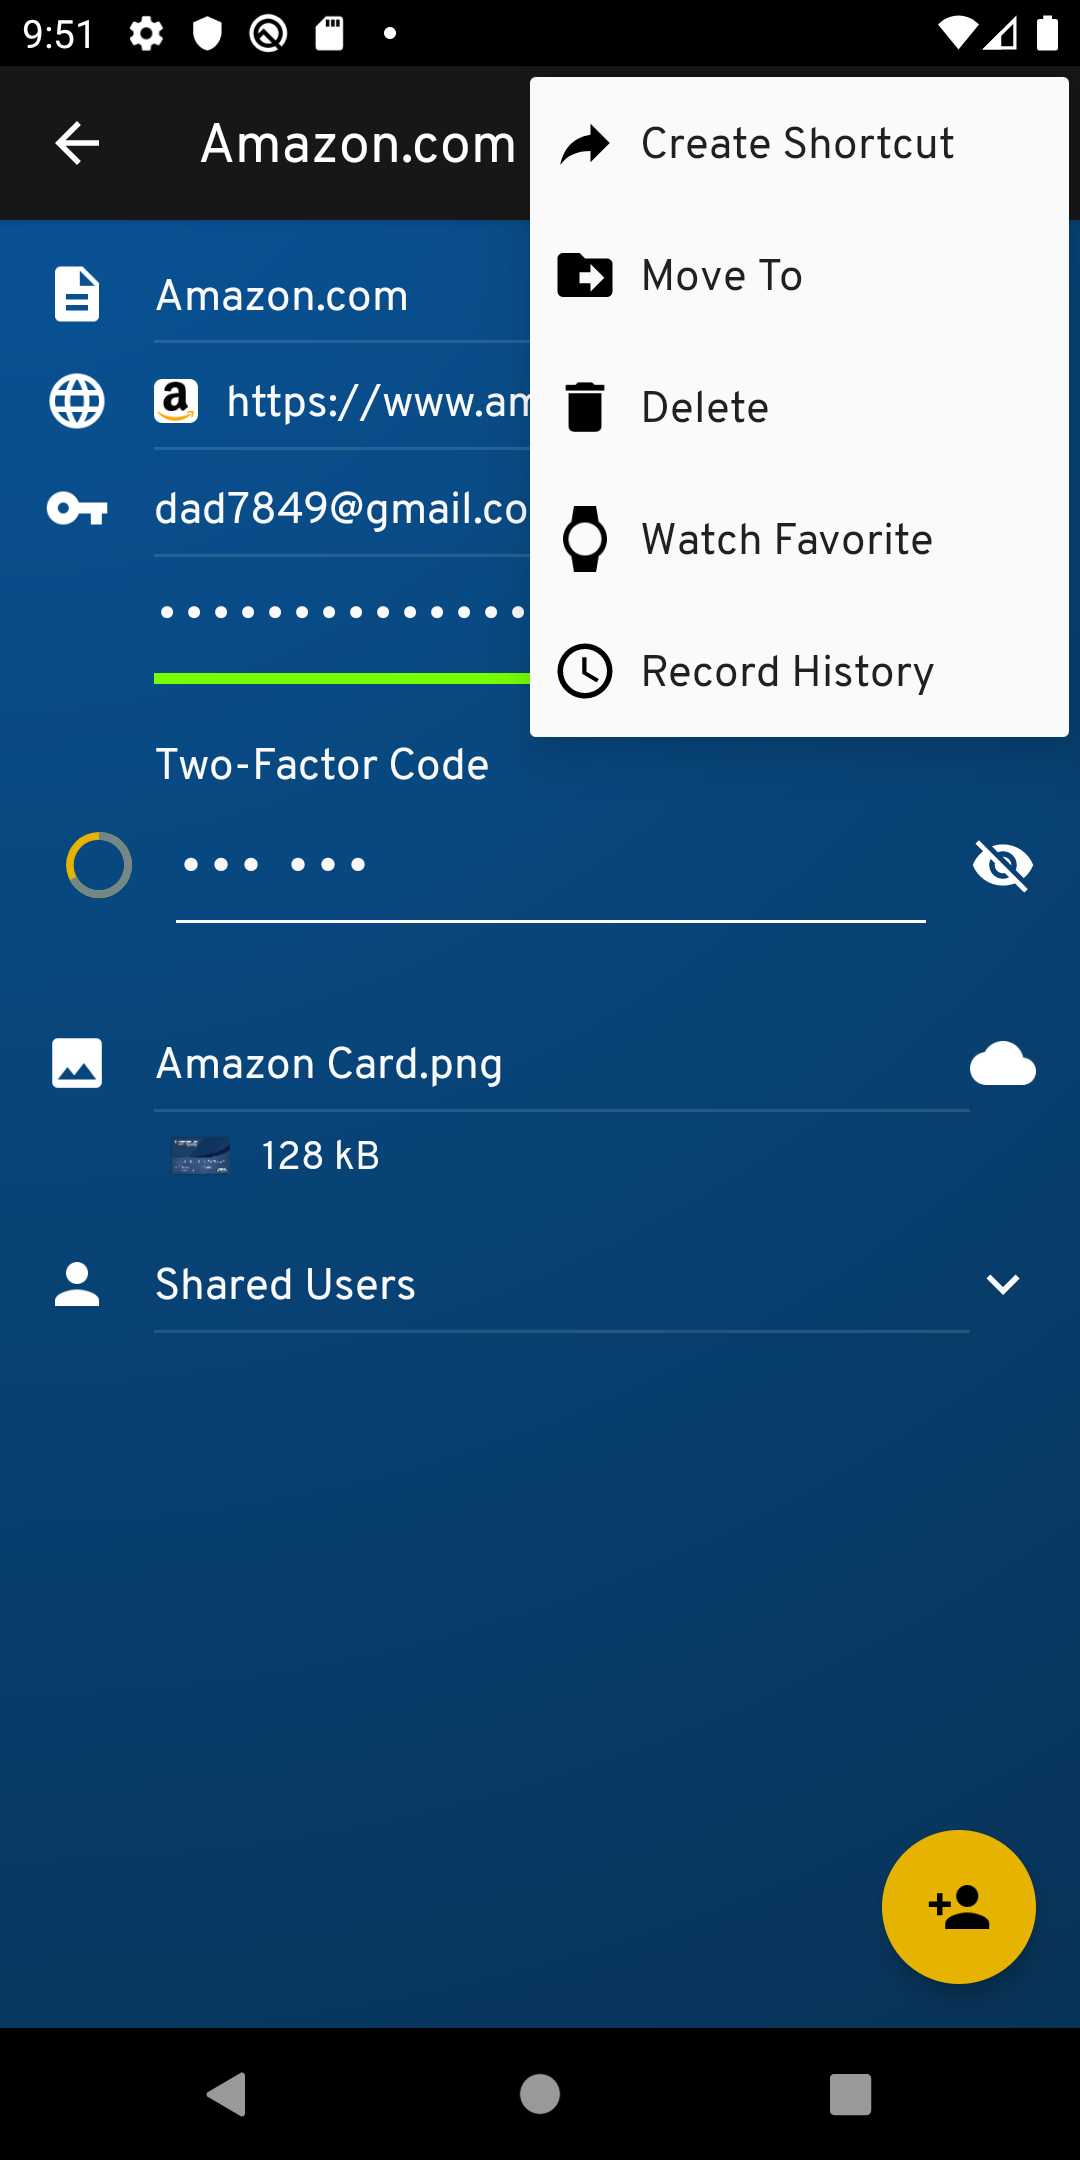
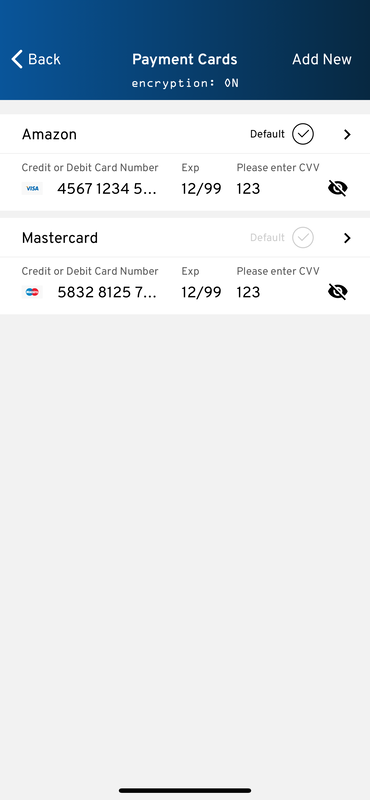
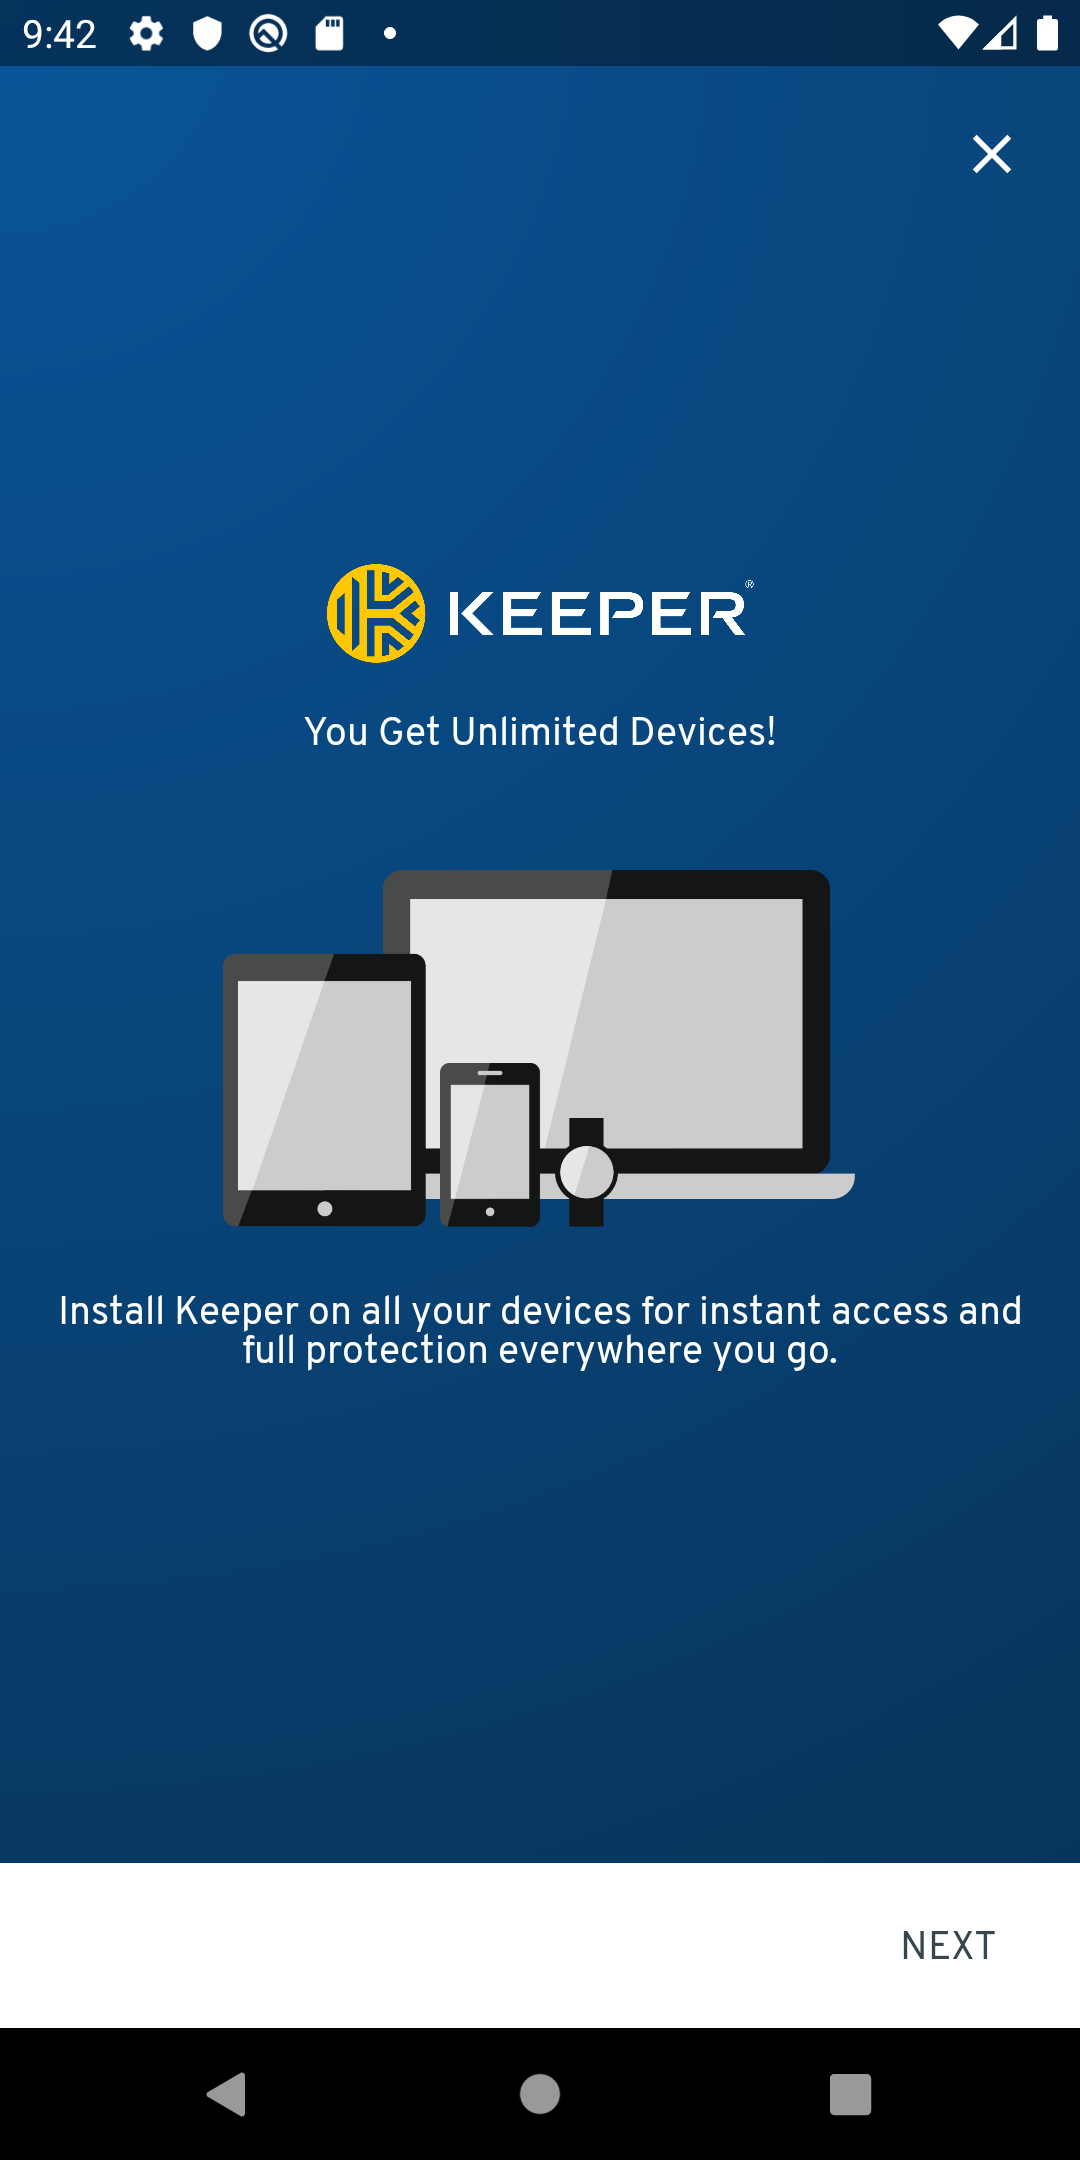
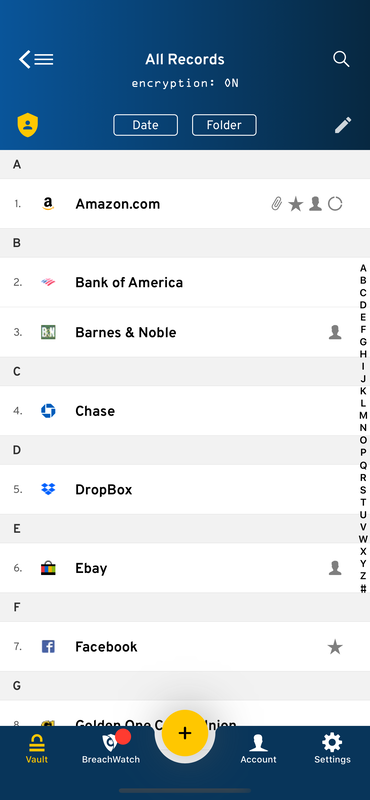
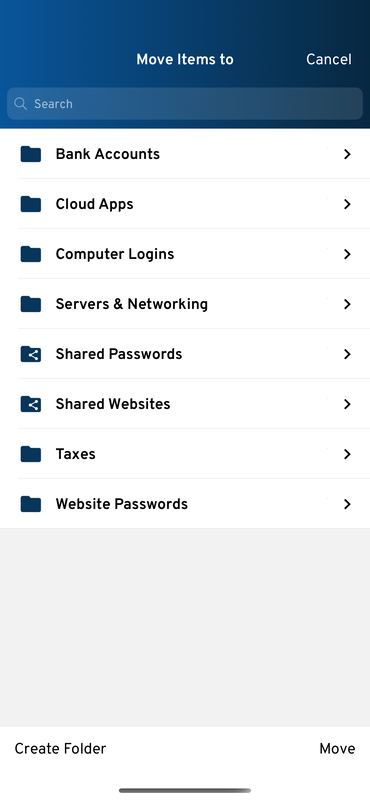
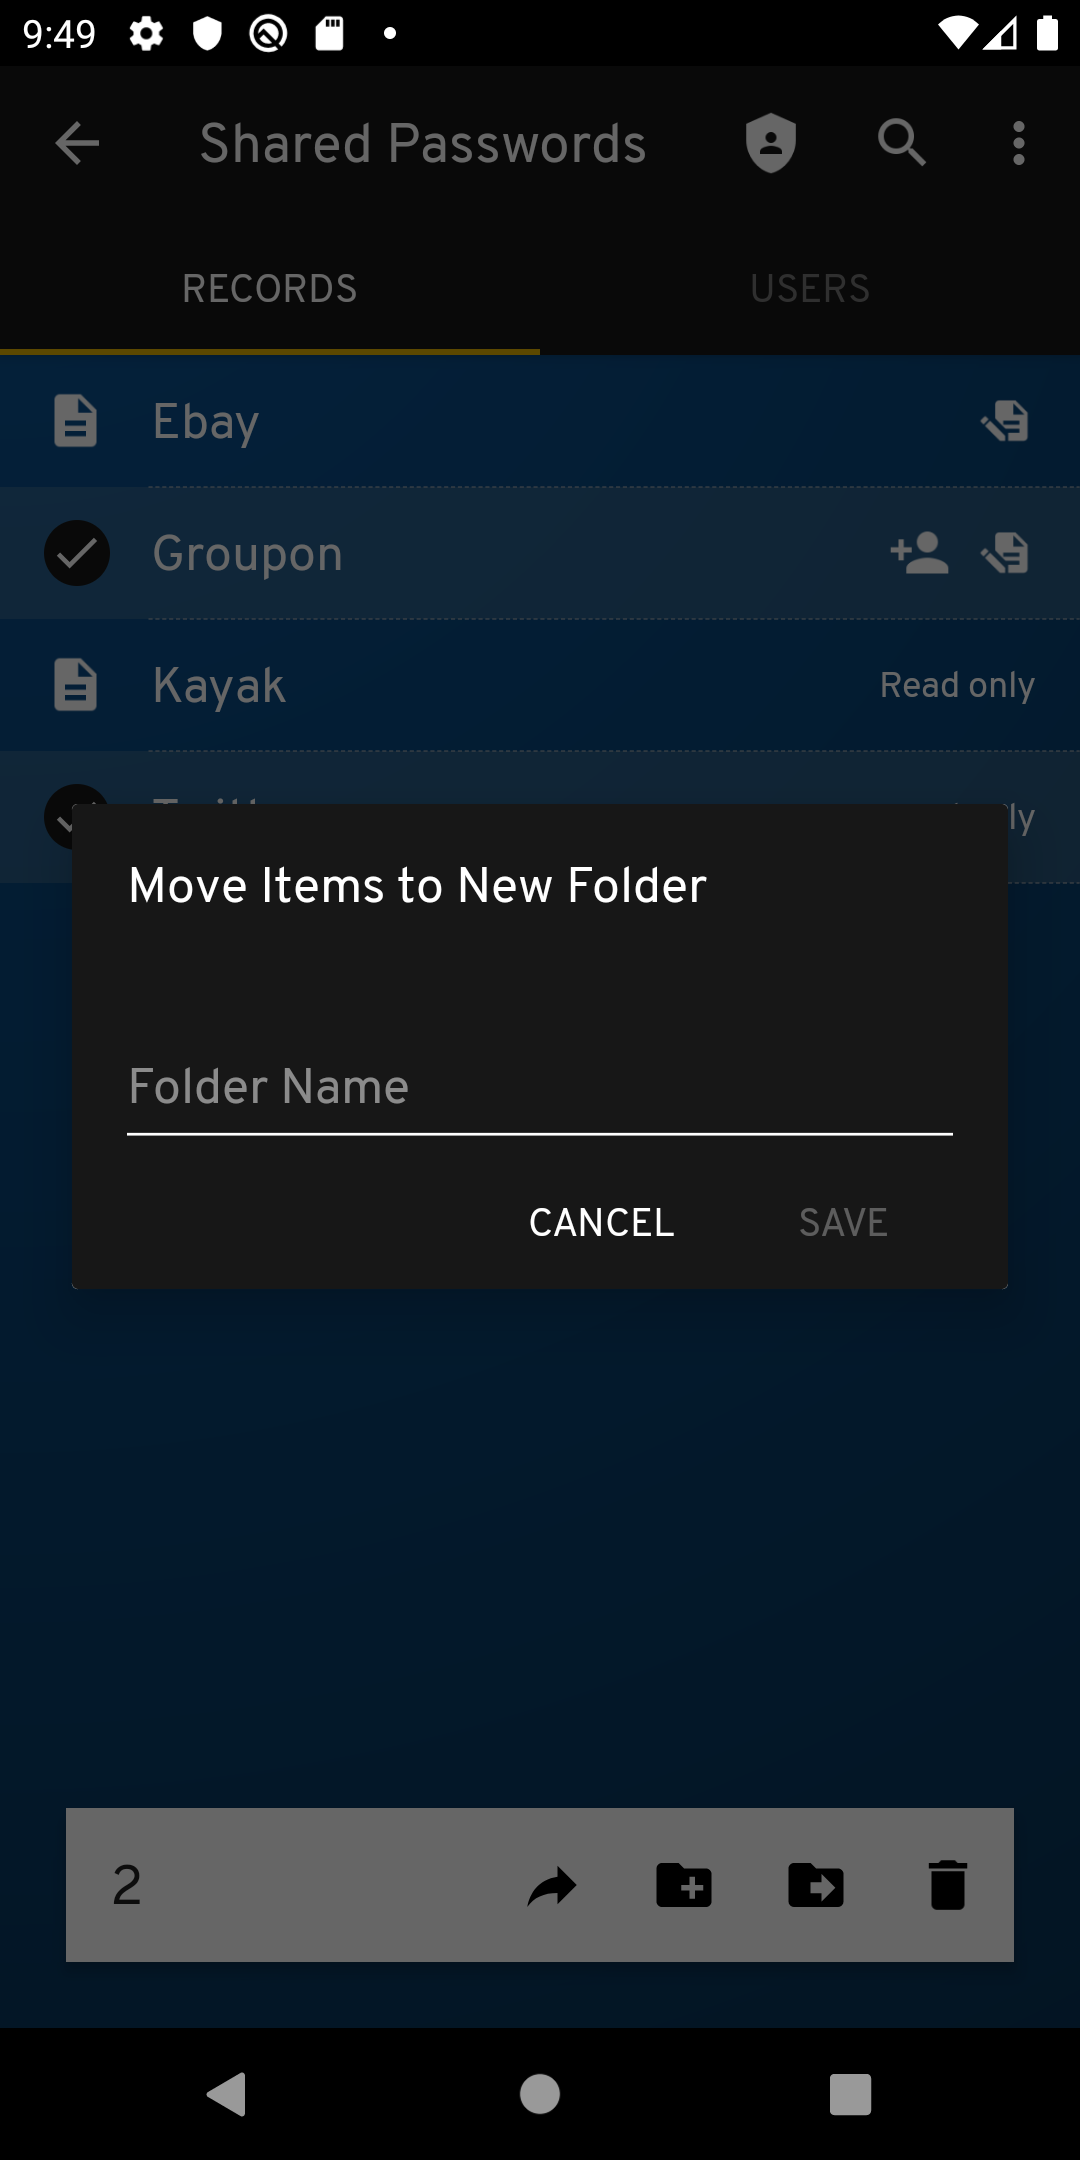
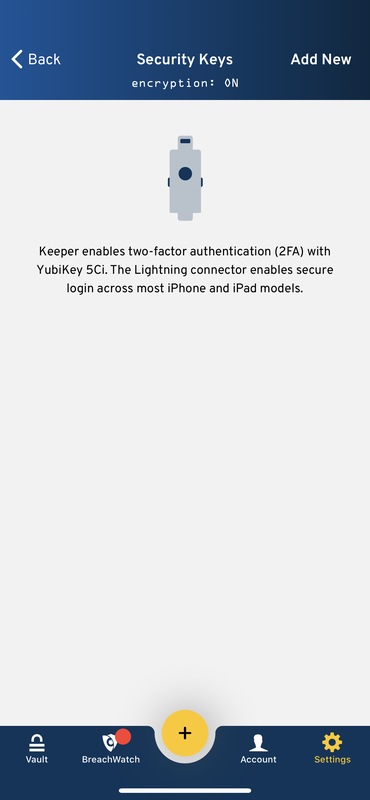
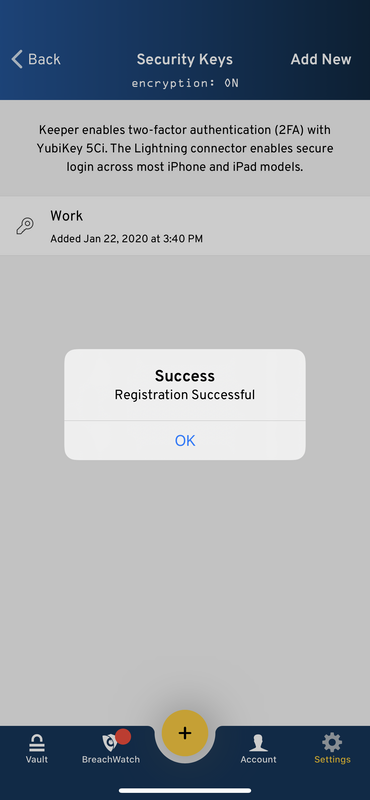
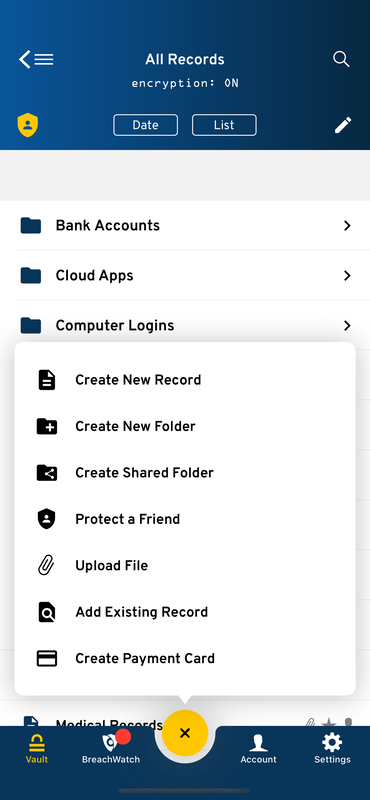
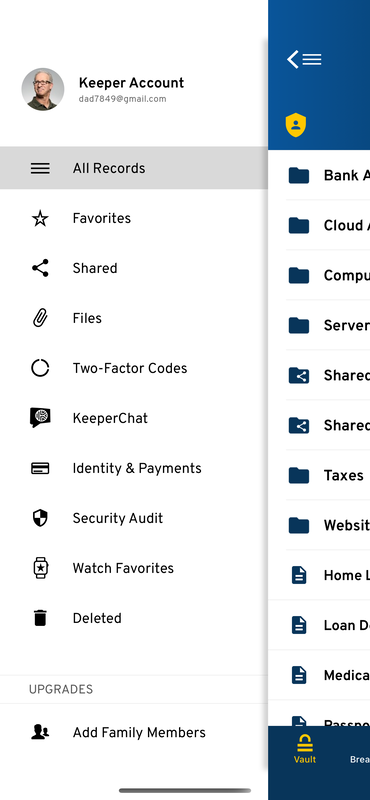
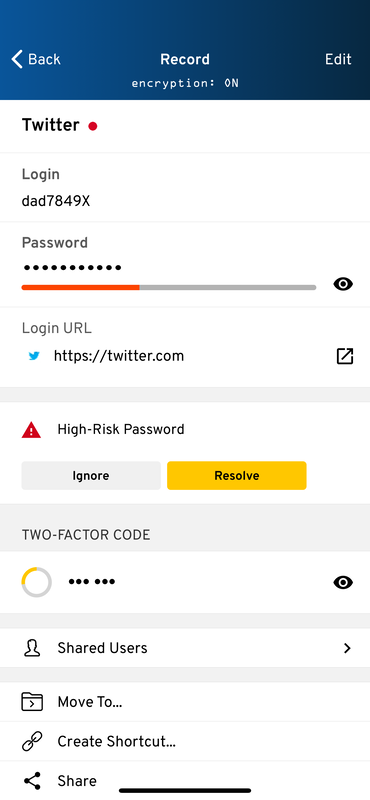
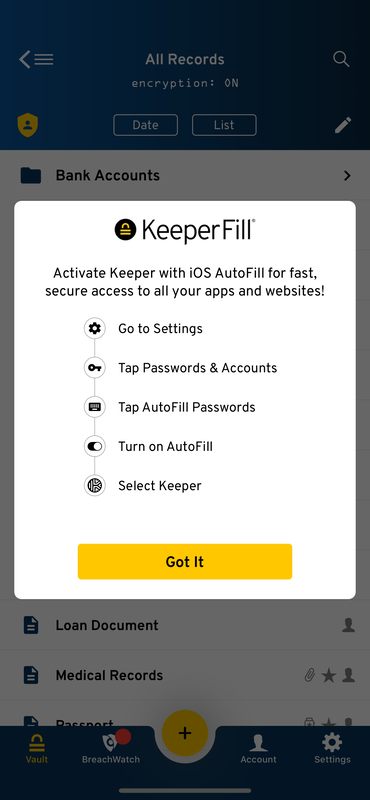
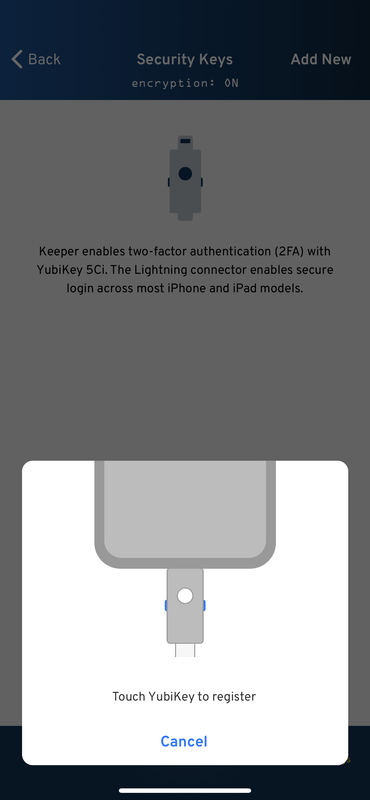
Are you looking for a simple and secure way to manage your business passwords, secrets and connections? Do you want to prevent data breaches, improve employee productivity and meet compliance standards? If so, you need Keeper Password Manager for Business! Keeper is the trusted and proven cybersecurity leader that protects millions of people and thousands of companies globally. With Keeper, you can: Generate and store strong, random passwords for all your websites and applications in a secure vault on every device. Share passwords and files with your team members and partners in shared folders with granular permissions. Protect your critical infrastructure and CI/CD pipelines with secrets management and zero-trust network access. Monitor your password health, dark web exposure and user activity with comprehensive reports and audits. Enforce security policies and role-based access control across your organization. Integrate with your existing IAM and SIEM solutions for seamless provisioning and logging. Keeper is easy to set up, use and manage. You can deploy it in minutes and enjoy unlimited devices, storage and support. Plus, when you buy Keeper Business, each team member gets a free Keeper Family Plan! |
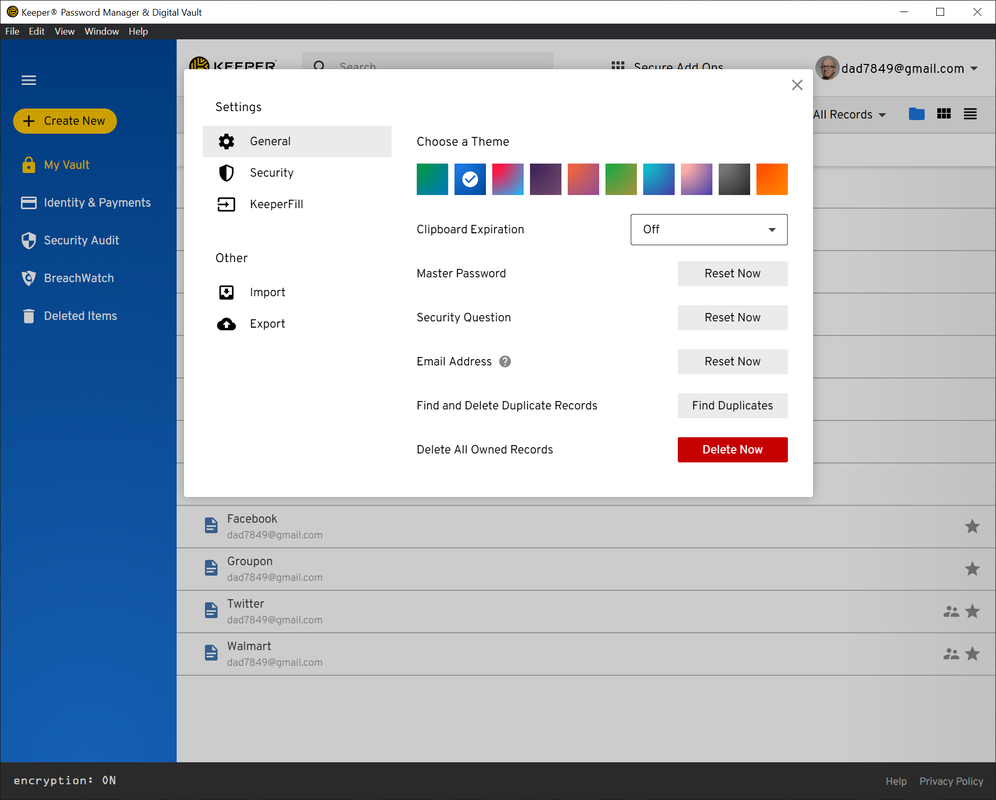
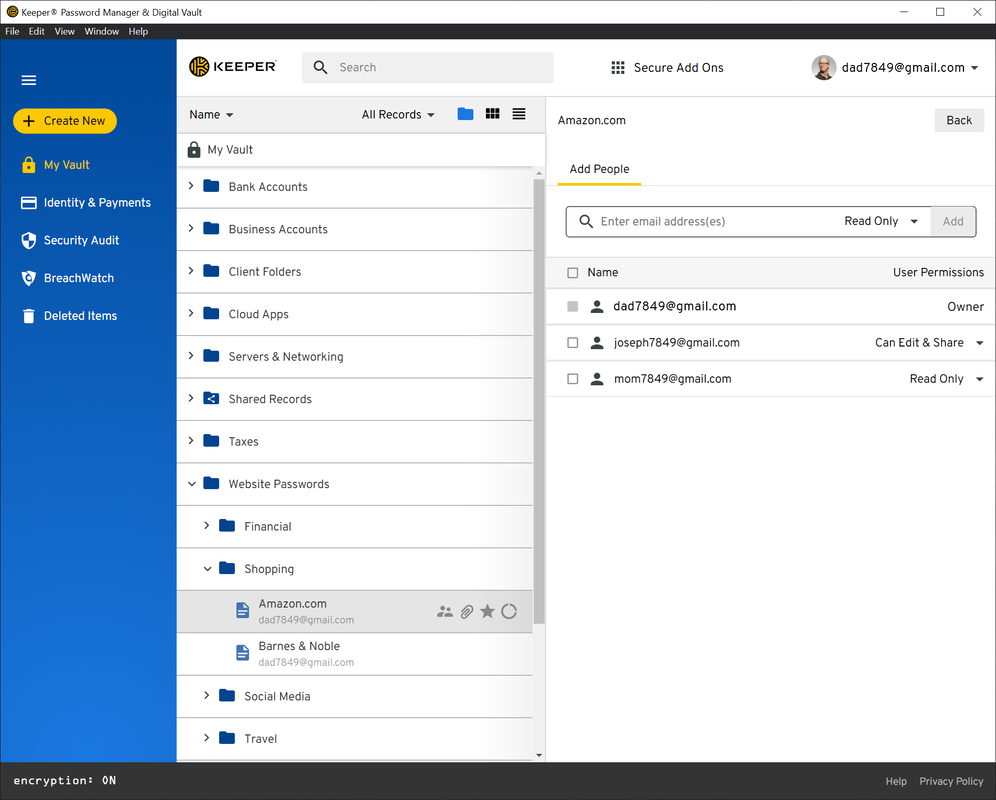
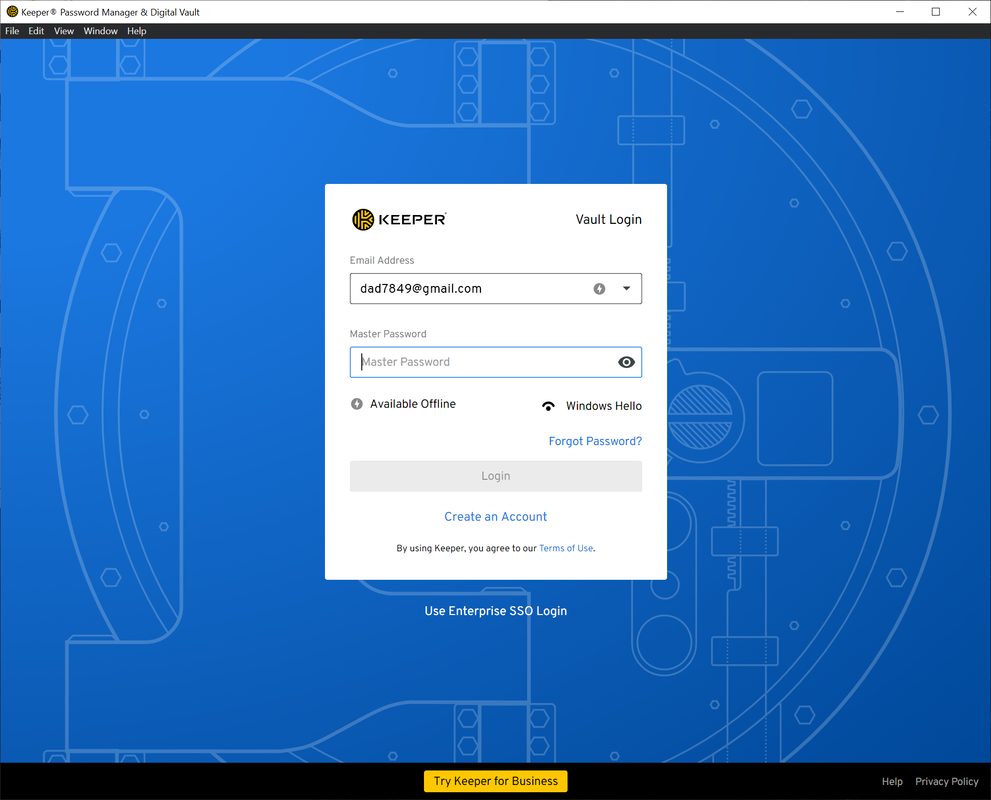
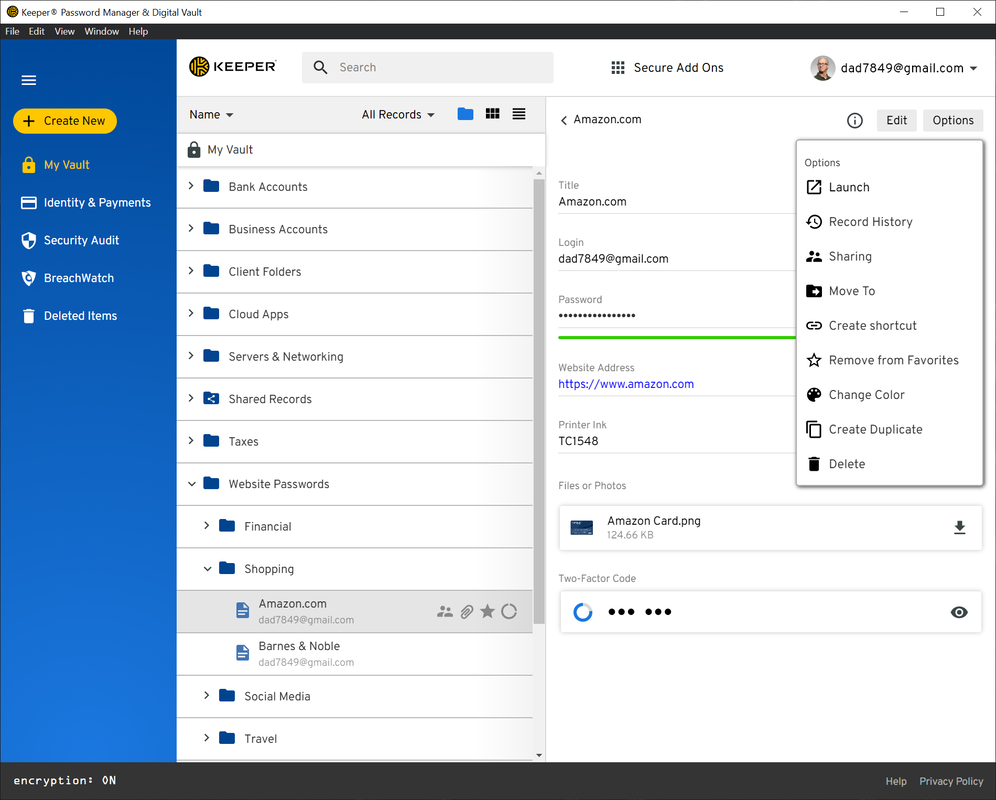
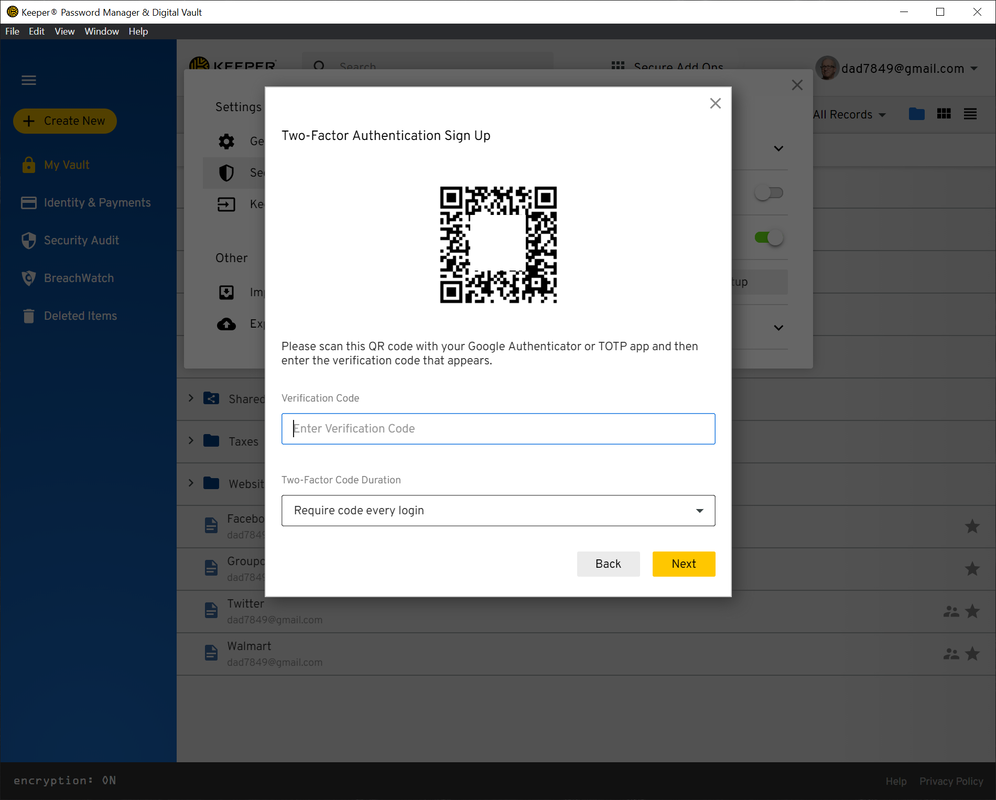
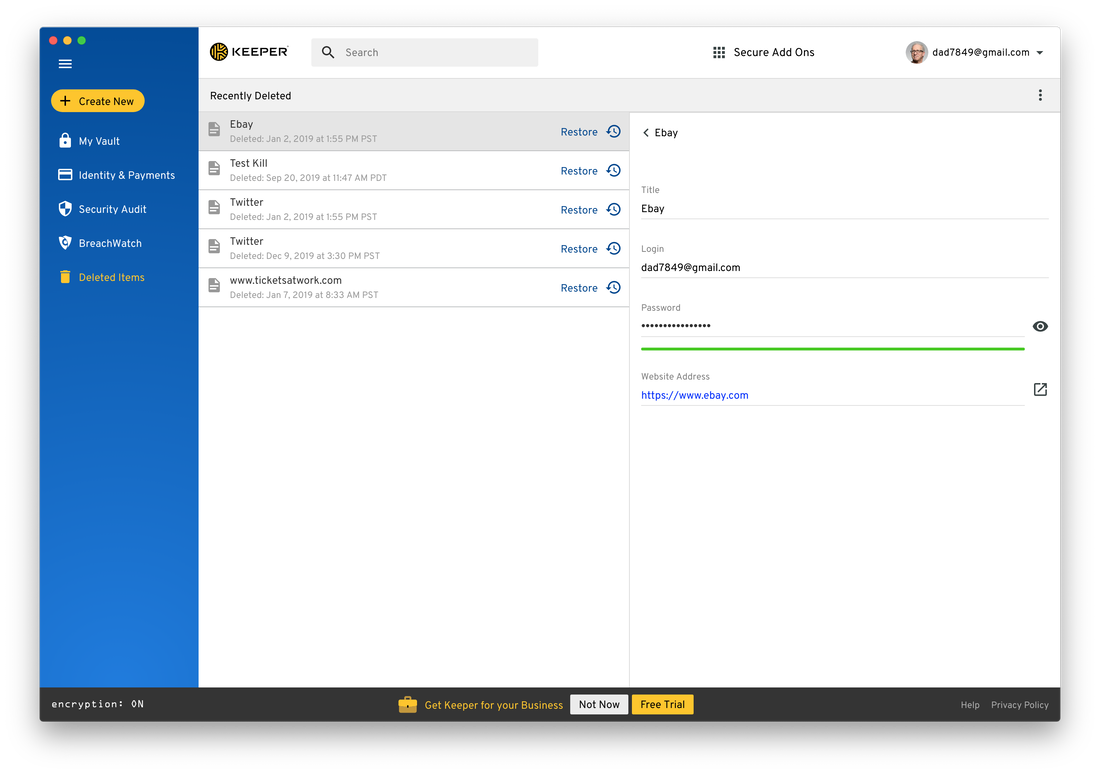
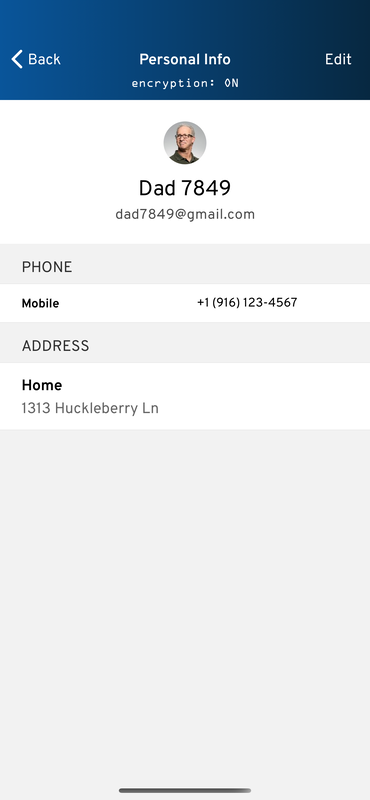
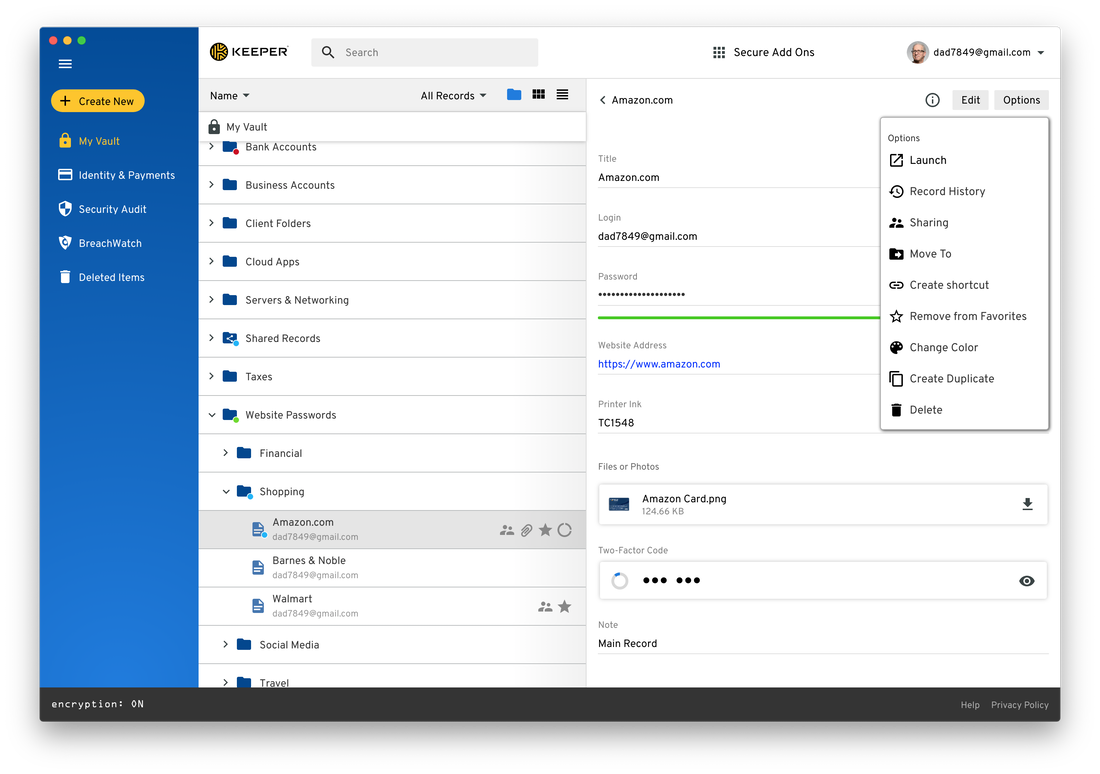
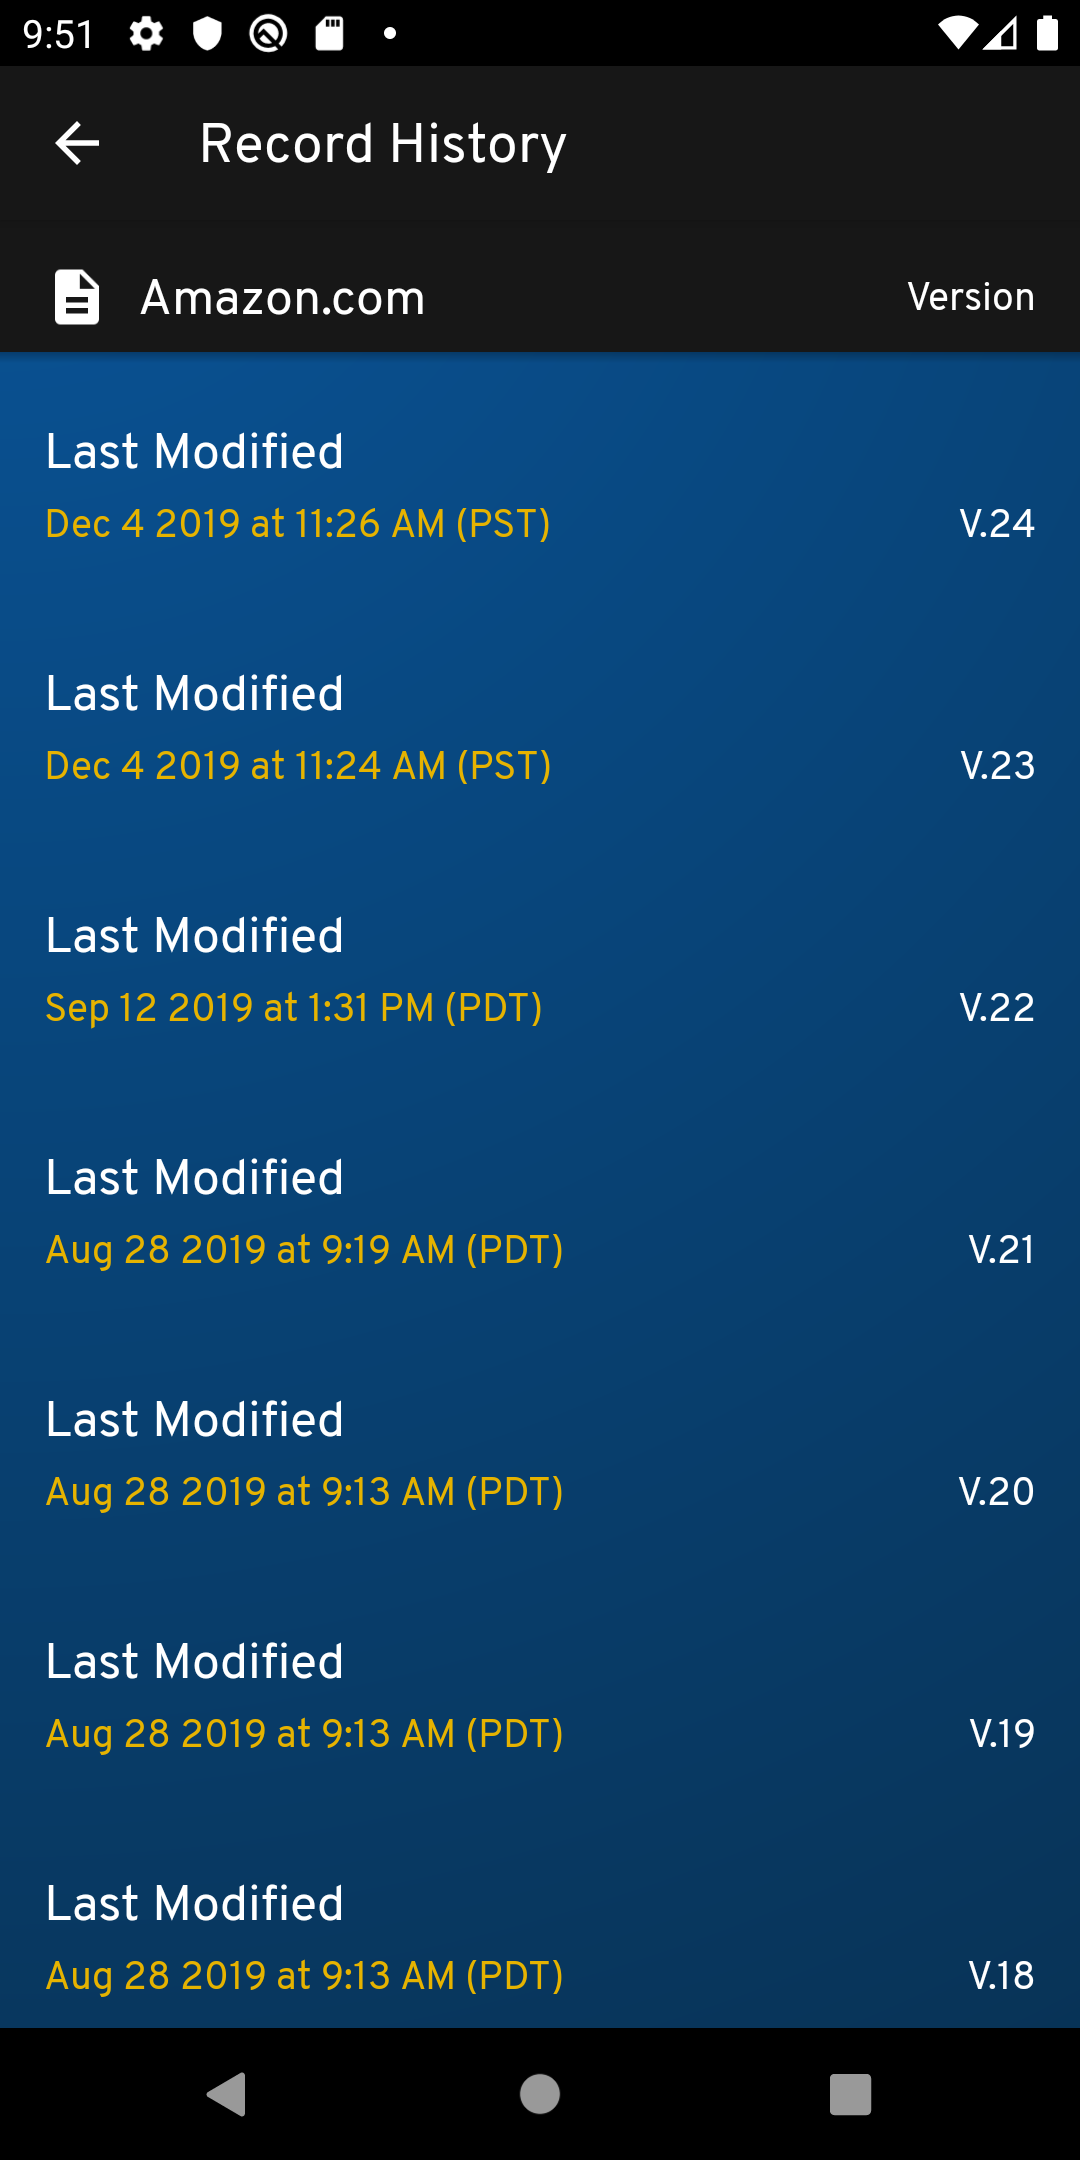
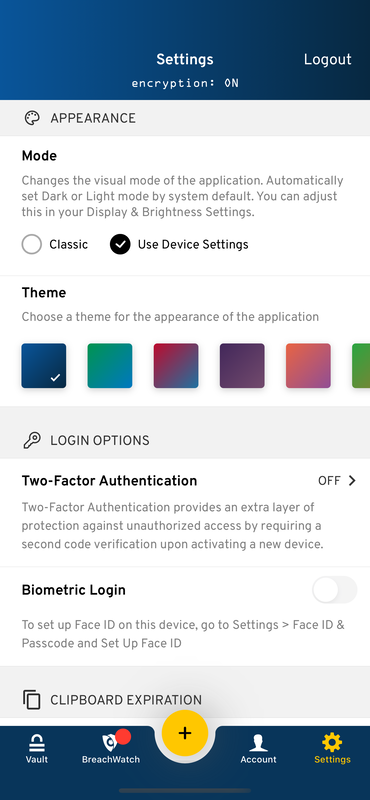
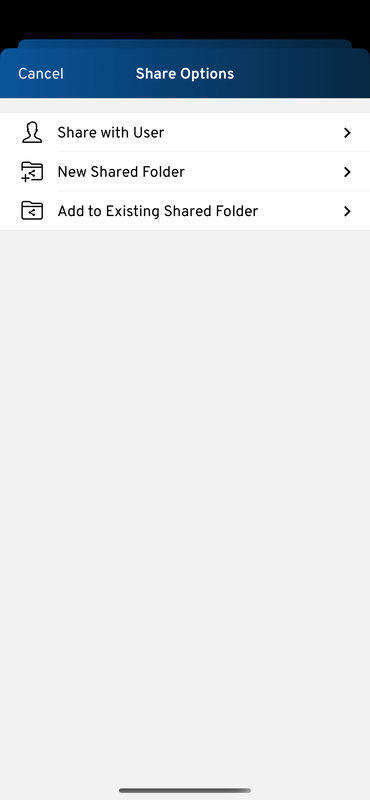
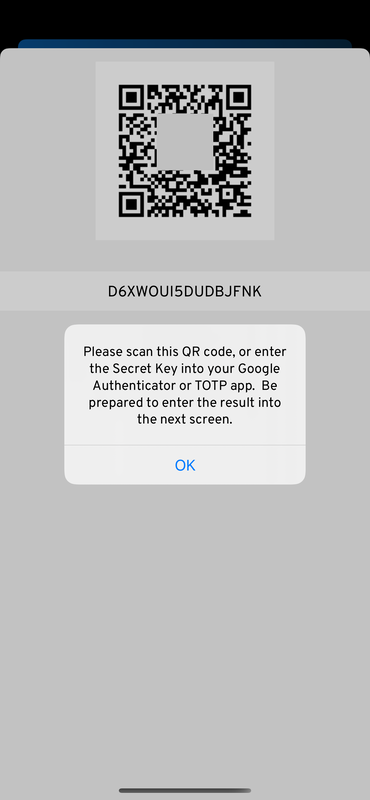
Screen Shots |
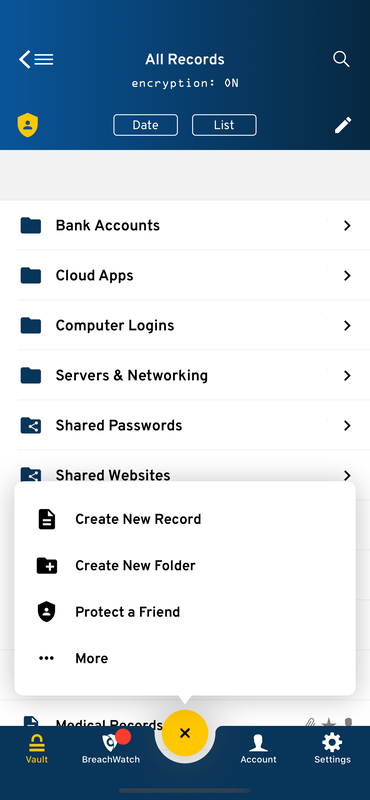
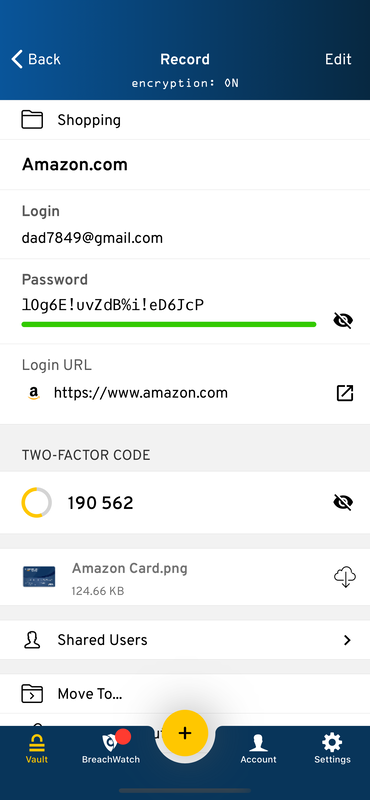
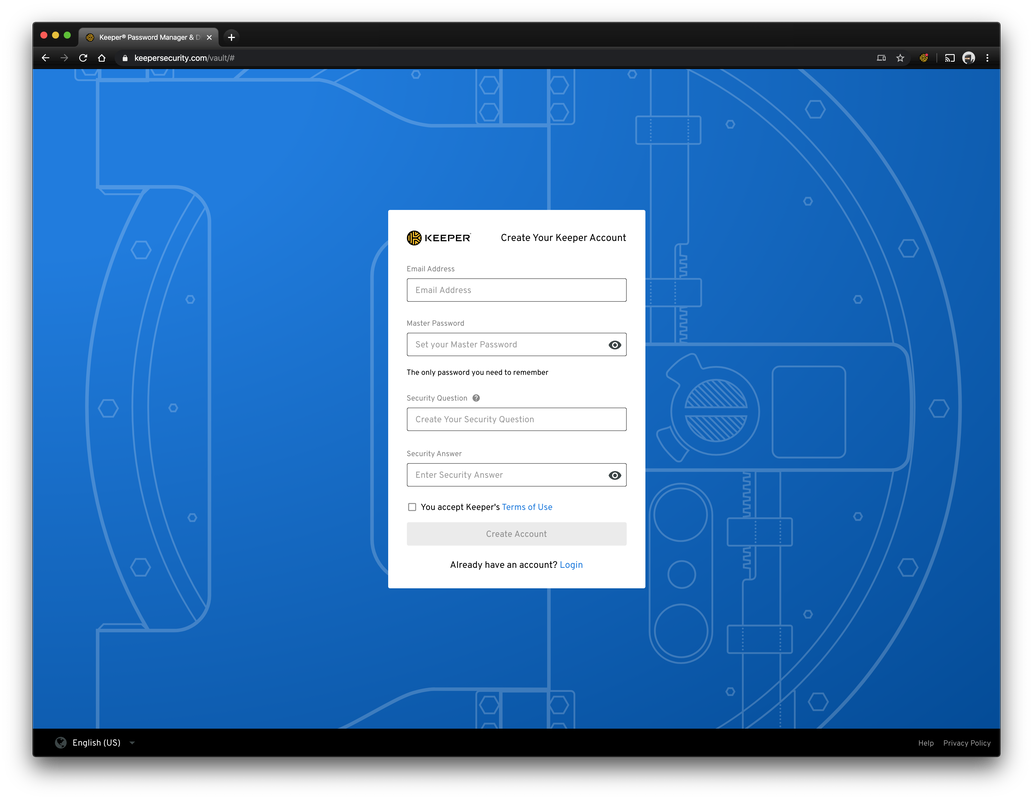
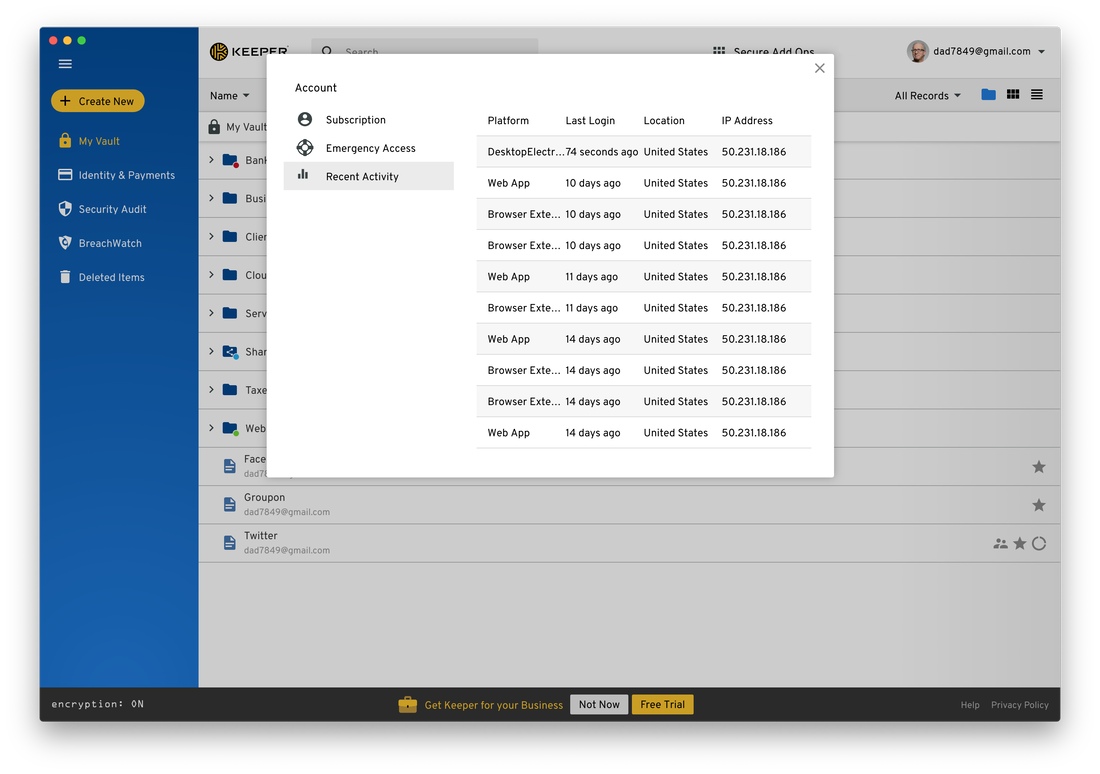
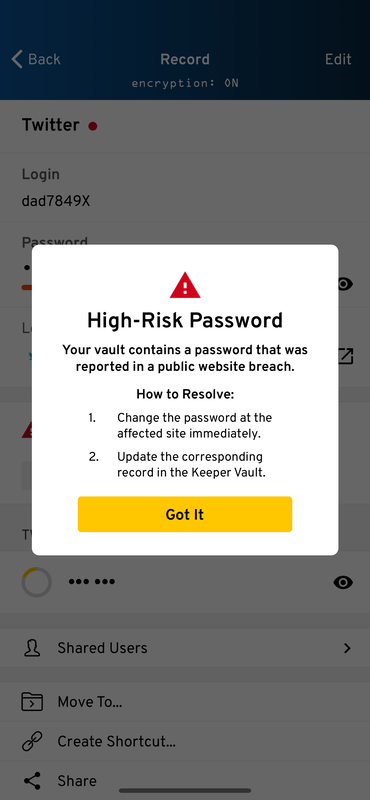
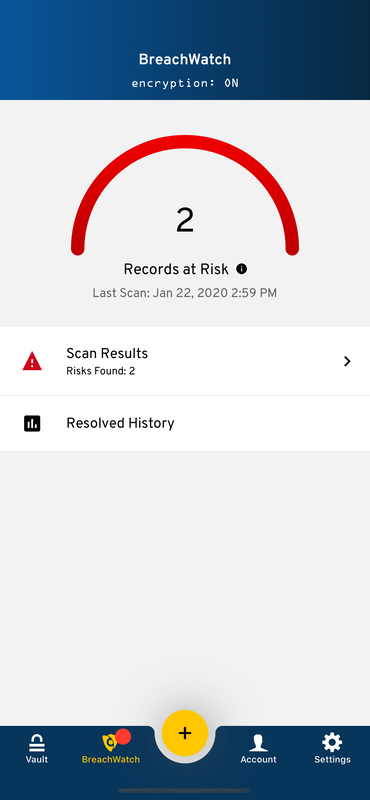
Browser ExtensionWeb VaultWindows DesktopMac DesktopAndroid AppiOS App |